How to Manually Install Zen Cart
Updated on Dec 10, 2015
In this tutorial we will guide you on how to install Zen Cart on your hosting account using FTP and following the Zen Cast installation wizard.
To manually Install Zen Cart, please follow these steps:
Step 1 Download and Prepare the Files
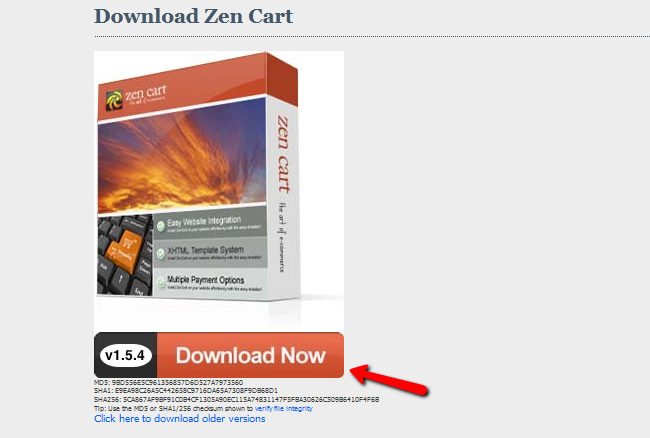
To manually install Zen Cart on your hosting account you will first need to download the latest version of the application. You can do that by visiting the official download page and clicking the Download button.
After you have downloaded the Zen Cart Archive, extract it on your local computer.
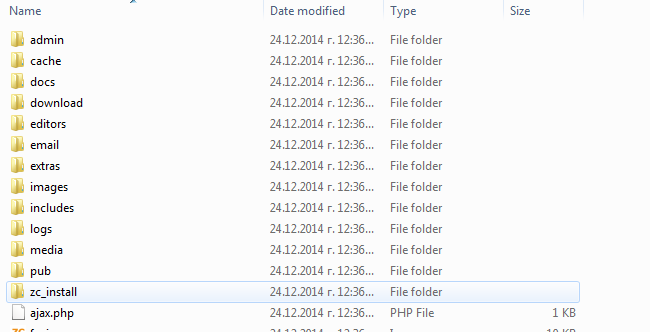
Step 2 Upload the Files
Start your favorite FTP client and connect to your hosting account. First thing you should decide before uploading the installation files is under which folder of your account you would like to have Zen Cart installed.
I you would like to have your store accessible directly via your domain name http://example.com you should use the public_html directory to upload your files. In case you would like to have your store setup into a subdirectory such as /store/ and have it accessible via http://example.com/store/, you should create a directory called 'store' under the public_html folder and upload your files there.
Upload Files
There are two ways of uploading your files to the server - using an FTP client, following our FTP tutorial, or uploading directly through your cPanel account > File Manager, following our cPanel tutorial.
It might take up to a few minutes to have all files and folders uploaded. Afterwards, open your favorite browser and navigate to the directory where you uploaded the files but also add /zc_install/index.php at the end of the URL. This will direct you to the Zen Cart Installation Wizard.
Step 3 Follow the Installation Wizard
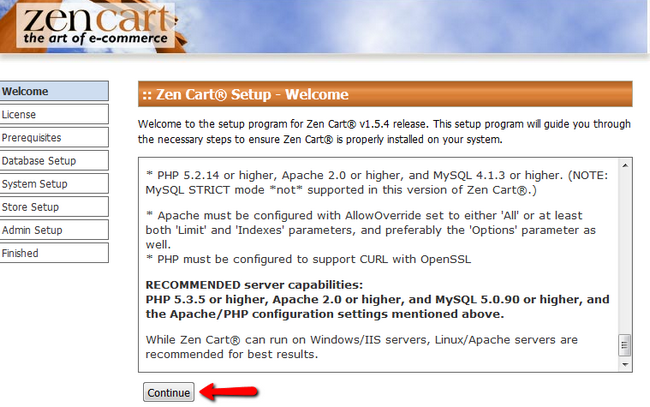
The first part of the Installation Wizard will Welcome you to the application and provide you again with the requirements for it to run. Click on the Continue button to move to the next step.
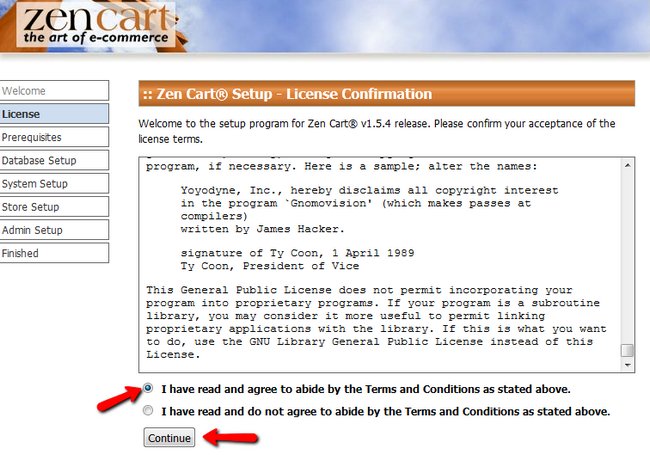
In the License step of the installation, you will need to read and agree to the Terms and Conditions regarding the use of Zen Cart. Hit the Continue button to continue the installation.
In the Prerequisites step, the wizard will check the server and provide you with information regarding the availability of needed components for the installation. As all Zen Cart Hosting packages cover the requirements you can safely click the Install button at the bottom of this page.
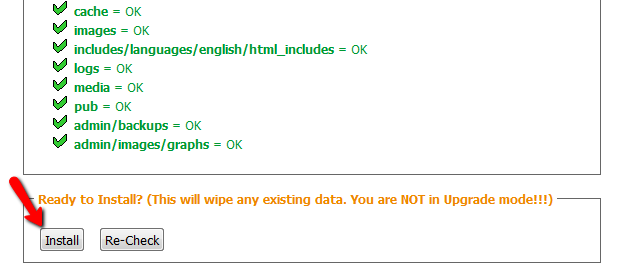
Now you will need to configure the Database you wish to use for this instance of Zen Cart.
Create MySQL Database
For more information on how to create a MySQL database and username, please check our cPanel tutorial on How to create MySQL Database.
The fields you will need to fill are as follows:
- Database Character Set – The Character Set for your database (default is recommended)
- Database Host – The server on which your database is situated. If you are a FastComet client this should be set to localhost
- Database Username – The Username connected to the database
- Database Password – The Password for the Database
- Database Name – The name of the Database
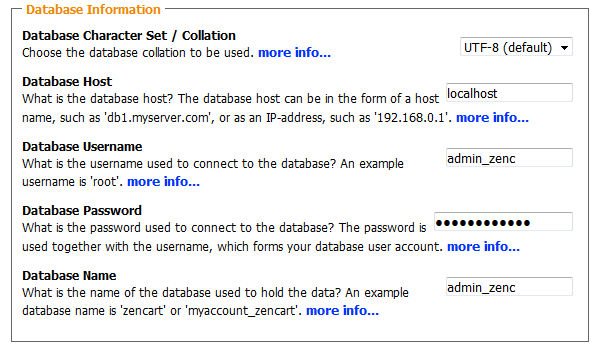
Once you have configured the Database, click the Continue button. In the next step you will have to setup the System settings for your new Website. This includes the Path to your Zen Cart directory and the URL to your store.

It will also include the SSL settings for Zen Cart.
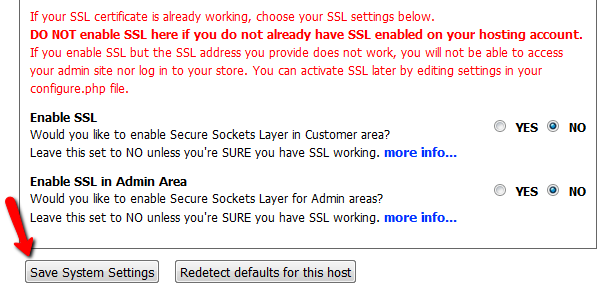
Click the Save System Settings button when you are ready to continue.
In the Store Setup step, you will be able to configure Store information like the Name of the Store, its Owner, Owner Email and location.
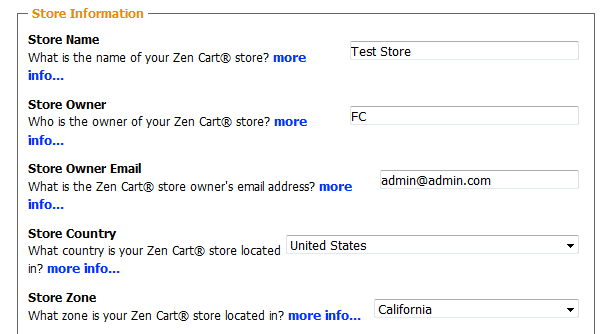
You will also be able to configure the Language, Currency and Demo data for your store.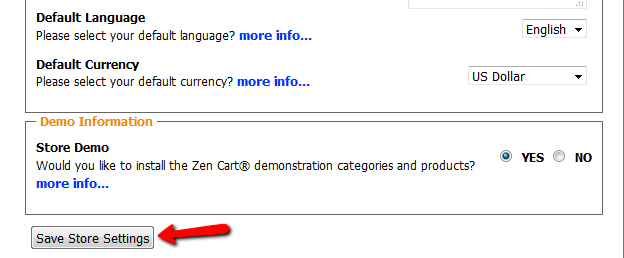
When you are ready, you can continue with the installation by clicking on the Save Store Settings button.
To be able to login to your Store’s admin area you will need an Administrators Account. You will need to create the Admin account here in the Installation Wizard.
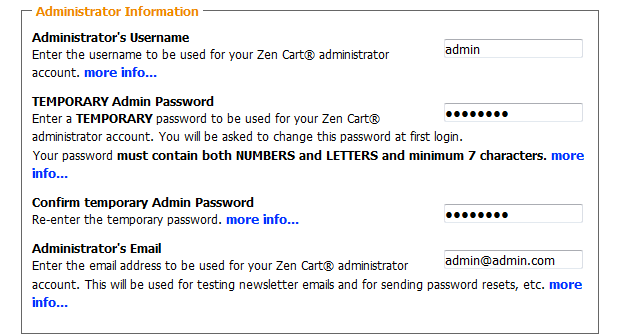
You will also enable the Check for Updates option here or enable it later from your Store’s admin dashboard.

Click the Save Admin Settings button to Finalize the Installation.

Congratulations, you have successfully installed Zen Cart on your account.
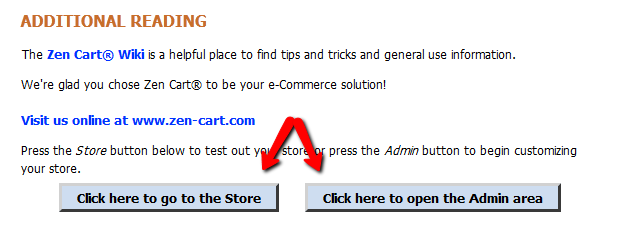
Click the corresponding buttons depending on whether you want to access your Store’s front-end or Admin area.
Note
In rare occasions the SSL is being forced in the configure.php file even if you have installed Zen Cart for HTTP. If your store’s front-end is not displaying correctly, you might need to go into the configure.php file of Zen Cart and remove the Force SSL from there. If you are not sure how to find or edit this file, visit our Configuration File tutorial. You will need to make sure the start of your configuration file looks like this:
  define('HTTP_SERVER', 'http://yourdomain.com');

  define('HTTPS_SERVER', 'http://yourdomain.com');


  // Use secure webserver for checkout procedure?

  define('ENABLE_SSL', 'false');
In the most cases there will be an extra “s” in the 18th line of code:
define('HTTPS_SERVER', 'https://yourdomain.com');
which should be removed.

Zen Cart Hosting
- Free Zen Cart Installation
- 24/7 Zen Cart Support
- Free Domain Transfer
- Hack-free Protection
- Fast SSD Storage
- Free Cloudflare CDN
- Free Zen Cart Transfer
- Immediate Activation