Zopim Live Chat Integration
Updated on Mar 13, 2019
Warning!
Zendesk bought Zopim on April 10, 2014. The new service does not abide by all of the previously established terms and no longer provides free accounts for partners rendering this Tutorial Section out of date.
With the increase of your client base you will see the benefits of supporting your users. Answering their questions and providing insightful information about your products can really make a difference in the user experience on your website. A happy client is a buying client and to make and keep your clients happy you will need a tool that will allow you to communicate with them. Zopim Live Chat is the tool you are looking for. It is easy to integrate and use and will allow you to provide live chat support/sale service to your clients.
To integrate Zopim Live chat with your WP eCommerce, you must:
Get the Zopim Live Chat Addon
To get Zopim Live Chat for your WP eCommerce store you will first need to login to your FastComet client area and access the Order section.

Zopim Live Chat is a product addon, so you will need to click on the Product Addons tab.
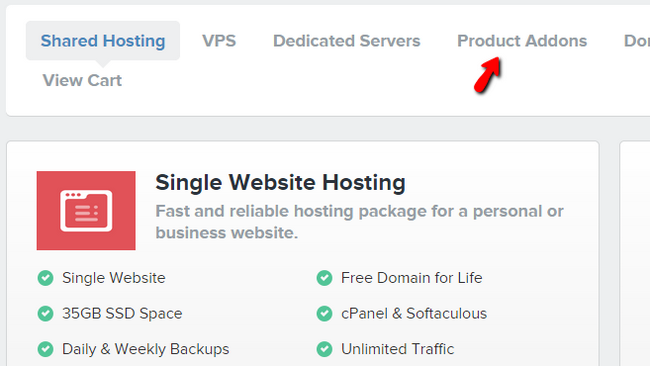
Scroll down until you find the "Zopim Live Chat" addon service.
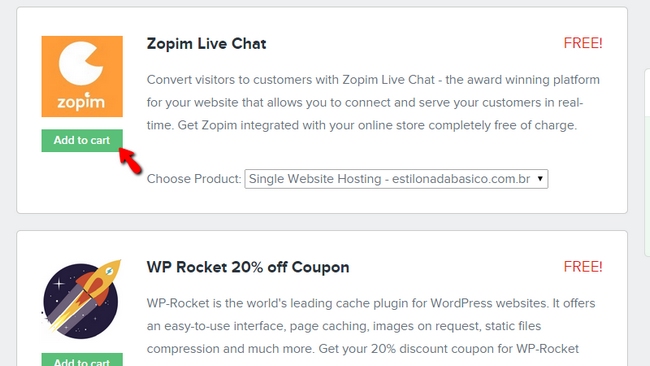
Click on the Add to Cart button to add the addon to your shopping cart. Once the ordering process is completed you will receive an email containing the login information for your Zopim account.
Install and Activate Zopim
Now you will need to login into the admin area of your Wordpress website and navigate to Plugins → Add New.
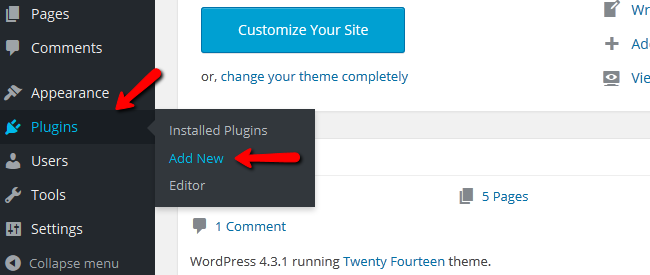
Search for the Zopim LiveChat plugin and when you find it, hit the Install button.
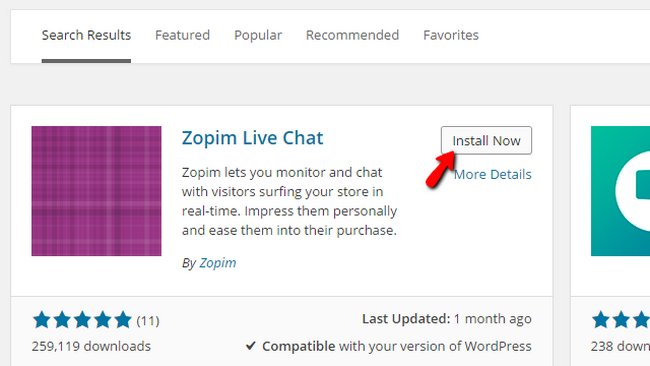
When the installation process is completed select the Activate Plugin option.
Now a Zopim Chat link will be added to the admin menu of your website and when you click on it you will be redirected to a login form. Here you will have to fill out your Zopim Live Chat credentials.
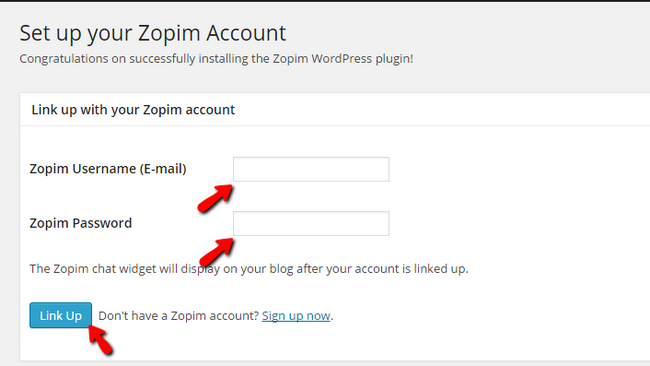
When you are done, please click on the Link Up button to finalize the setup process.
You have successfully integrated Zopim Live Chat in your WP eCommerce Store. Congratulations!

WP eCommerce Hosting
- Free Installation
- 24/7 WP eCommerce Support
- Free Domain Transfer
- Hack-free Protection
- Fast SSD Storage
- Free Cloudflare CDN
- Free WP eCommerce Transfer
