Blog Website with Windu
Updated on Mar 13, 2019
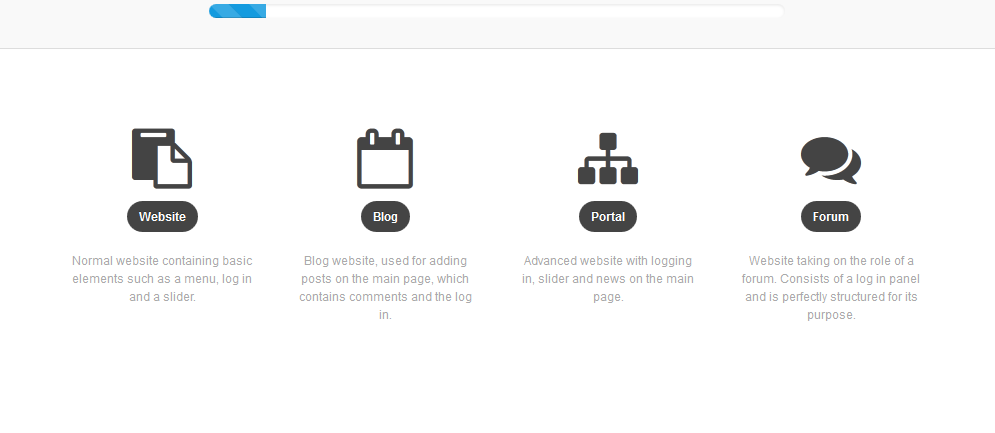
Creating a blog website with Windu is a very straight forward process. Just after you finish your Windu Installation process you will be directed to the Windu Creator page. From the menu please click on the Blog Website icon to proceed with your blog setup.

Next you should select one of the available templates. You should not worry about the graphical content much during this setup. You can edit any aspect of your Windu Template later via your Windu Admin Dashboard.
During the next step you can modify some of the main graphical elements such as your blog logo, header and icon set. If you would like to change any element simply click on the Browse... button and upload your image or icon set.

Select the desired file from your local computer and proceed by clicking on the Next button at the bottom of the page. This will finalize the Windu blog setup process and you may proceed directly to your Windu admin panel or your home page and start building your blog.


Windu CMS Hosting
- Free Windu Installation
- 24/7 Windu Support
- Free Domain Transfer
- Hack-free Protection
- Fast SSD Storage
- Free Windu Transfer
- Free Cloudflare CDN
- Immediate Activation