Managing the Customers of your Store
Updated on Dec 10, 2015
PrestaShop allows you to manage all of your customers in order for you to take a good care for all of them and their purchases.
To manage your userbase, you need to complete the following steps:
Access the Customers page Overview
The Customers management home page is located inside your Stores admin backend → Customers → Customers.
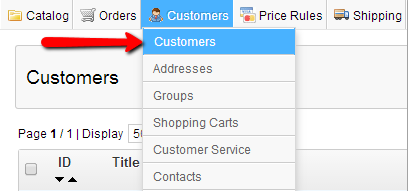
The Customers home page will present you with all of the users having accounts created in your Store in the table view located at the center of the page.
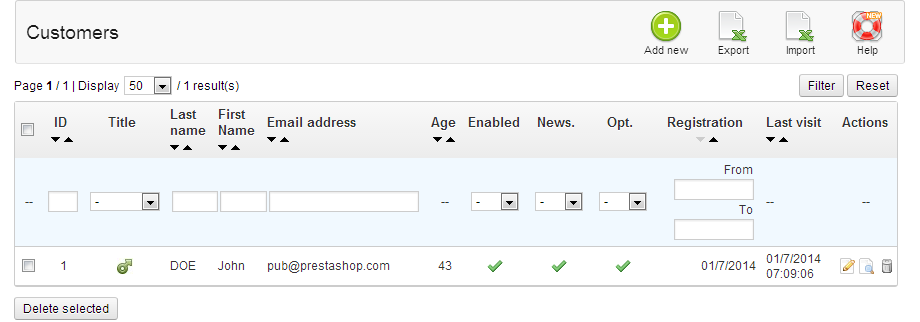
In order to View all of the information for an existing customer you will need to simply click on the row for that customer in the table view and an all of the information for the specific customer will show up.
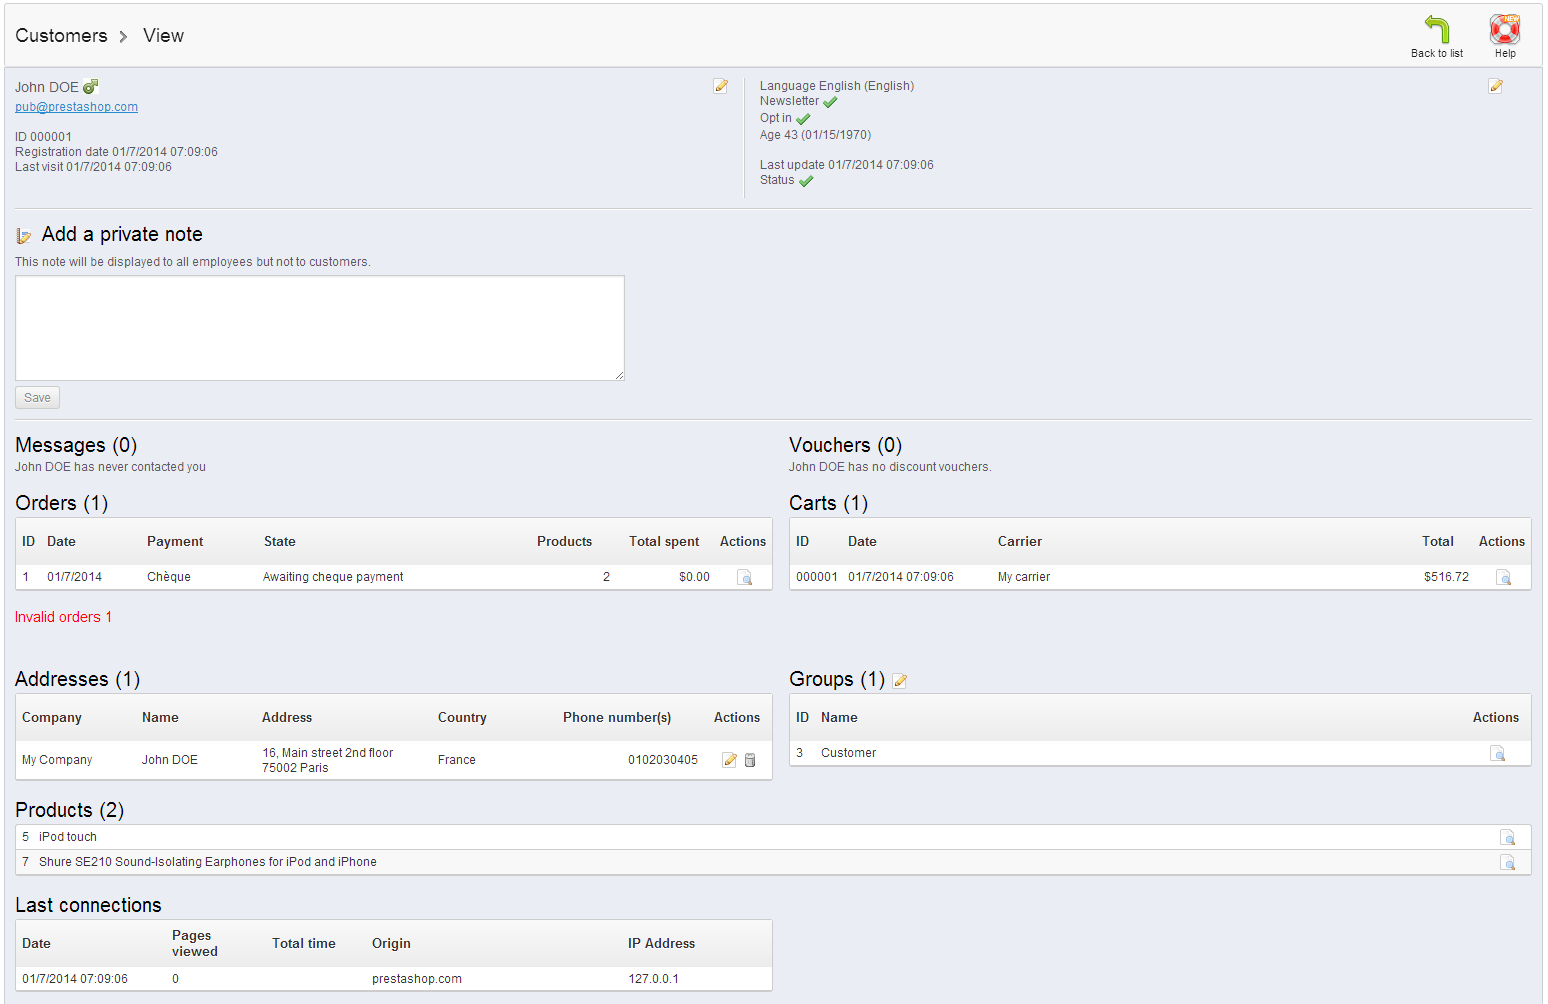
As you can see next to each section of information there is an editing icon which allows you to easily edit that piece of information for the selected customer. The allowed information for editing is:
- Personal information
- Customer settings
- Private Notes about the customer
Add a New Customer
In order to add a new customer you should simply use the Add new button located at the top action bar of the Customer's home page.

This action will bring the customer adding interface so you can fill all of the fields with information about the new customer you would like to add.
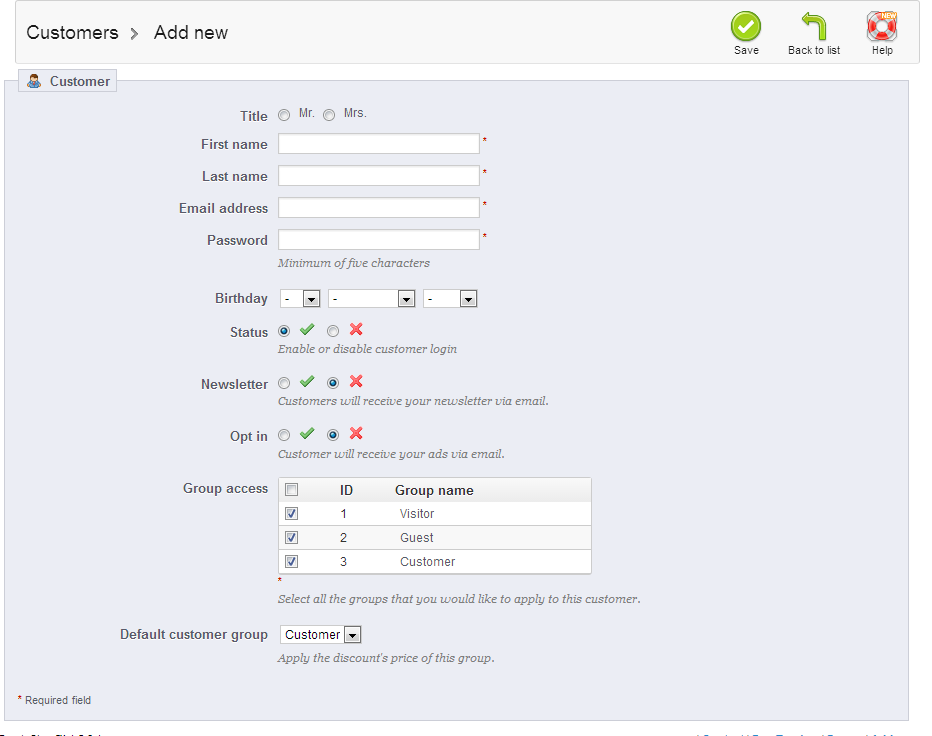
The fields contained in the adding interface are for the standard information for each and every customer and you should make sure that all of the fields are filled and the required options are selected based on your personal needs.
Delete a Customer
The deletion of customers is also fairly simple. From the Customers home page and the table view where all of your customers are displayed simply use the checkbox which is the first item in every table row (customer row) and then use the Delete Selected button located at the bottom, after the table view.

Once you click on that button the selected customer will be Deleted.
Manage Customers Group
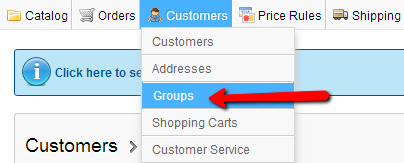
PrestaShop also provides you with the option to manage Customer Groups. This is an additional criteria you can be grouping your customers by and it is available under you Stores admin backend > Customers > Groups.
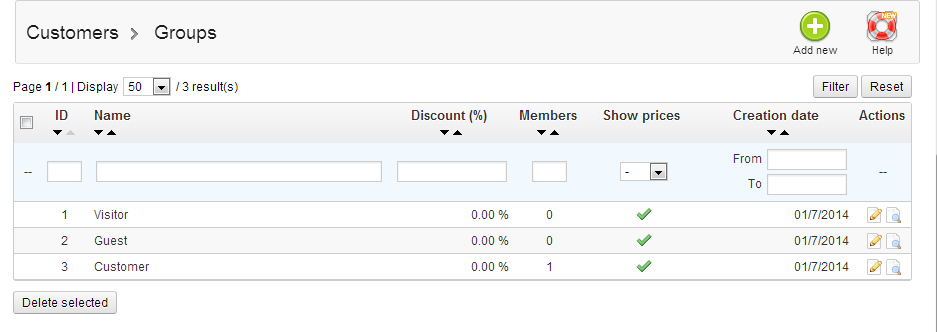
At the home page of the Customers Groups you will be able to see all of the currently created customers' groups so you can either edit, create a new one or simply delete an existing group.
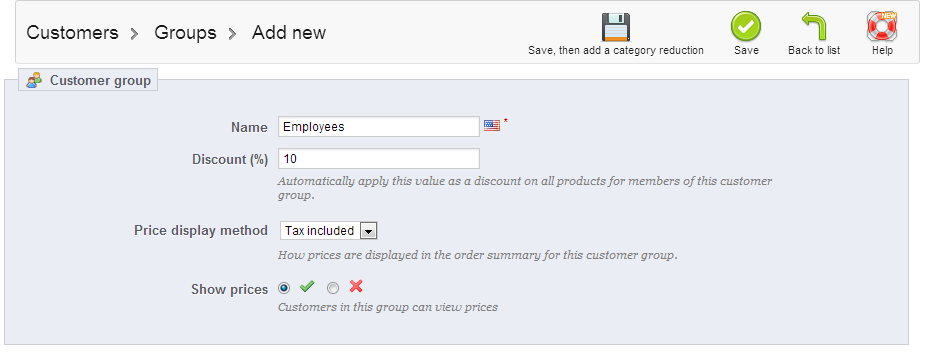
In order to add a new customer group you should press the Add new button located at the top action bar of that page. Then you will be presented with fairly simple group adding interface with 4 fields in it.
Note that the 3 default groups cannot be edited as they are presenting the level of access for each type of customer. Only the additionally created groups can be deleted.
Congratulations! You can now fully manage the customers of your Store!

PrestaShop Hosting
- Free Installation
- 24/7 Tech Support
- Free Domain Transfer
- Hack-free Protection
- Fast SSD Storage
- Free CloudFlare CDN
- Free Website Transfer
- Immediate Activation
