How to Upload Media in phpMotion
Updated on Dec 10, 2015
The main purpose of the phpMotion application is for you and the users of your website to be able to upload media files such as videos, audios or pictures. In this tutorial we are going to show you how the upload process goes for every single user.
In this tutorial, you will learn to:
Step 1 Upload Video
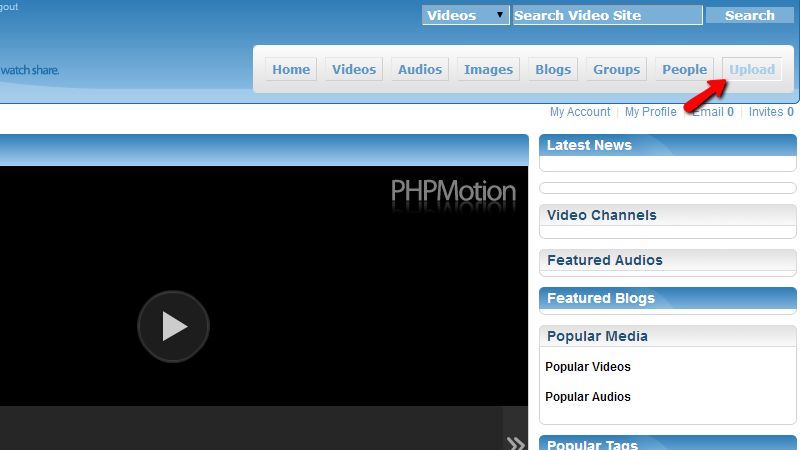
The Upload option is available from the top horizontal menu of your website and in order to access the upload section of your website you will need to press on that link.
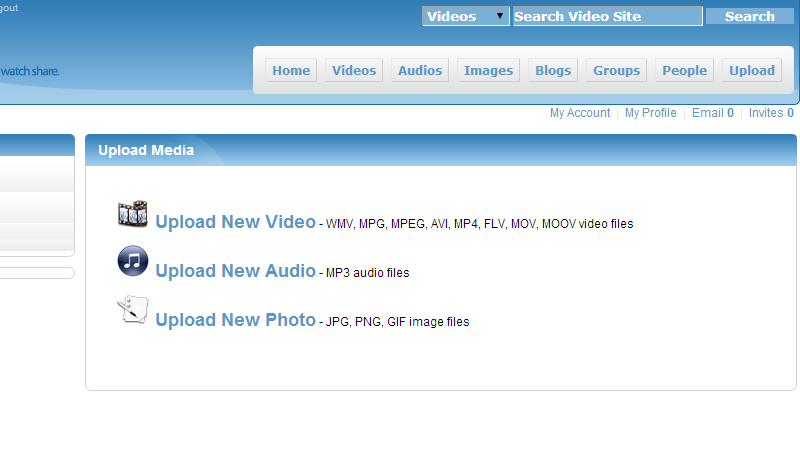
Then you will be redirected to the home page for the Upload Media section where you will notice 3 links – Upload New Video, Upload New Audio and of course Upload New Photo.
Let’s upload a video. In order to do that please click on the Upload New Video button. Then you will be redirected to a page where you will need to configure the information about the video you will be uploading.
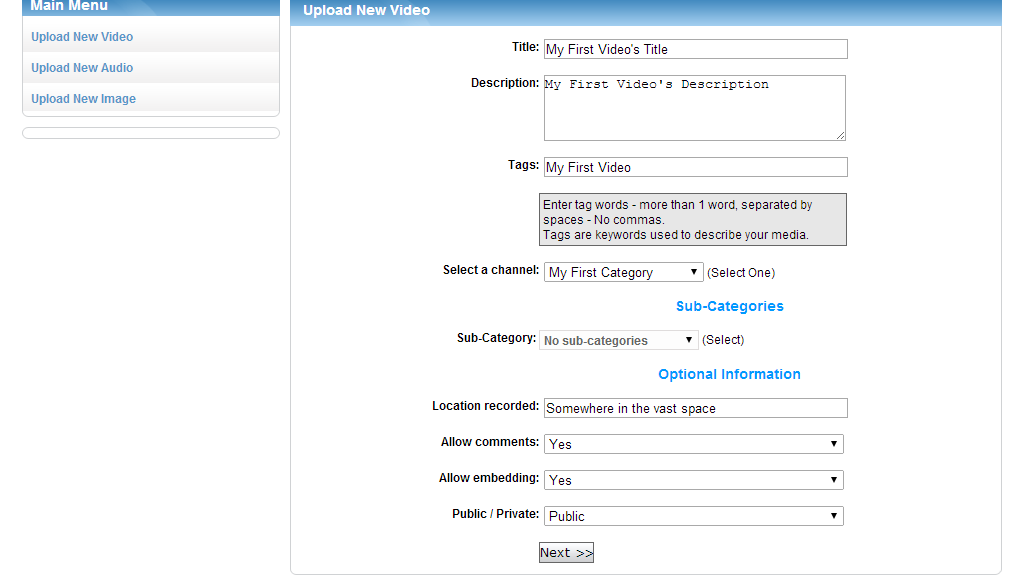
The fields Tittle, Description, Tags and Location Recorded should be filled with text and the other fields on that page you will need to select from the drop-downs presented.
The important thing here is to make sure that you have already added at least one category or you will be unable to select a Category for your new video. Without a selected category you will be unable to upload any video. Further information on how to create categories you can find in our other phpMotion tutorial called How to create a new category/subcategory in phpMotion.
Once you have filled all of the required fields please press the Next button so you can be presented with the actual uploading interface which is relatively simple – it contains a Choose File button, Reset button and finally the “Upload” button which will start the uploading process once a video is selected.
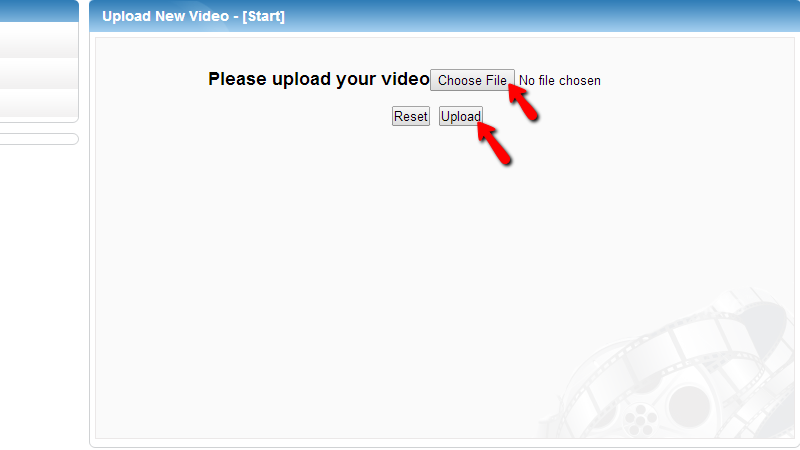
Once you press the Upload button a progress bar will appear indicating that the video has been uploaded and once the upload process is finished you will be prompted with a message indicating if the video was uploaded successfully or not.
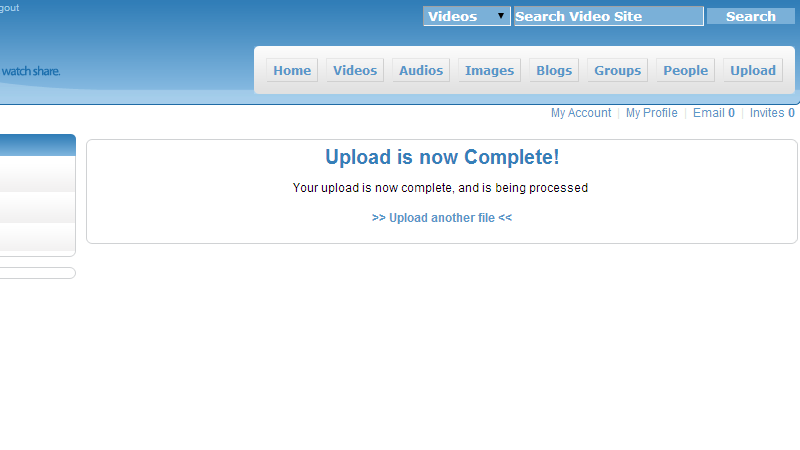
Keep in mind that you will need to allow some time for the upload to be processed and converted on the server.
Step 2 Upload Audio
Now let’s learn how to upload an audio. Please go back to the Upload Media page and click on the second link of the page called Upload New Audio. Then you will be directed to a page with a similar upload form as the one you have used for the video upload.
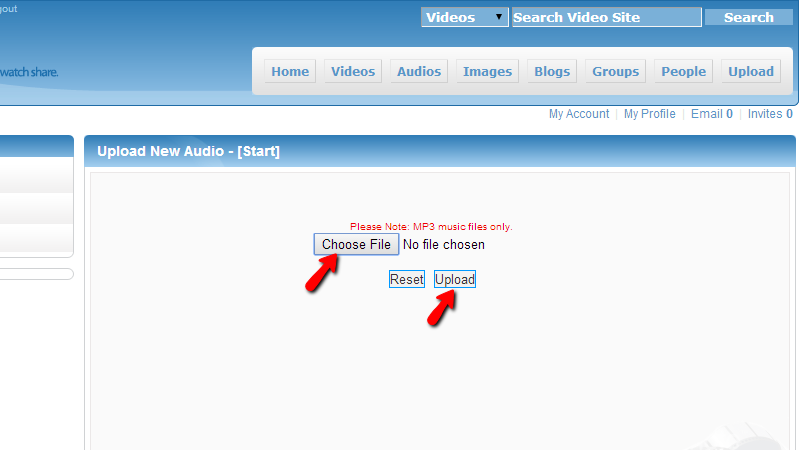
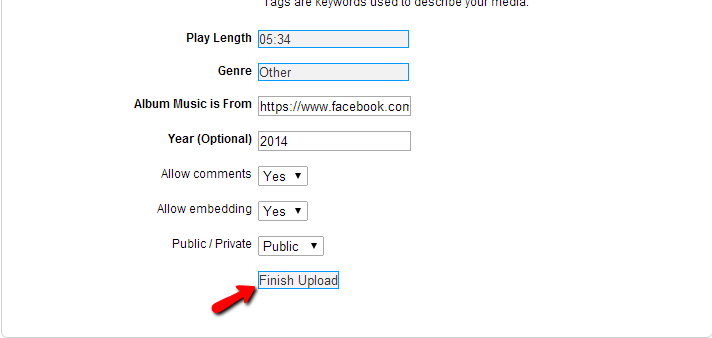
Once you are done please press the Upload button so the actual upload process can begin. Right when it ends you will be presented with the page where you will need to edit the information about your audio file. When you are ready please press the Finish Upload button so your new audio can be uploaded.
On the next page you will be presented with a confirmation that your audio has been successfully uploaded or with an error message if there was some issue with the audio in question.
Step 3 Upload Photos
Last but not least let’s learn how to upload Photos. Please go back to the Upload Media page and choose the last link from the provided – Upload New Photo. Then you will be presented with the upload interface for the photos on your website.
The interface is relatively simple and it is separated on two steps. The first one is called “Step 1: Select a photo album” and there you will need to either select an existing album or create a new one from the options there.
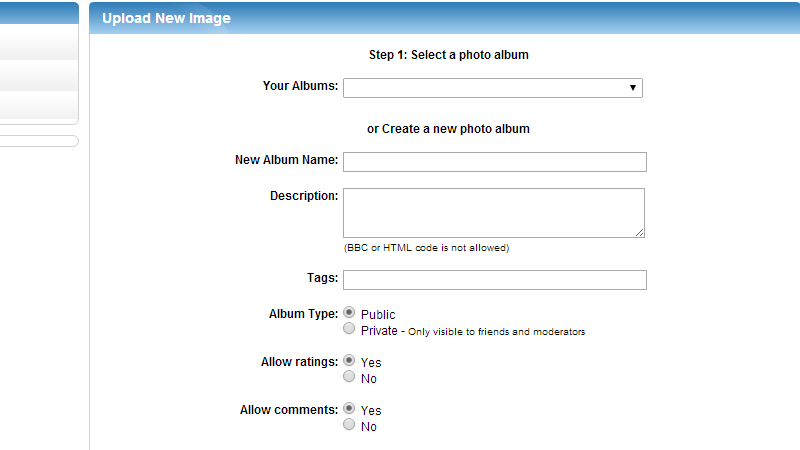
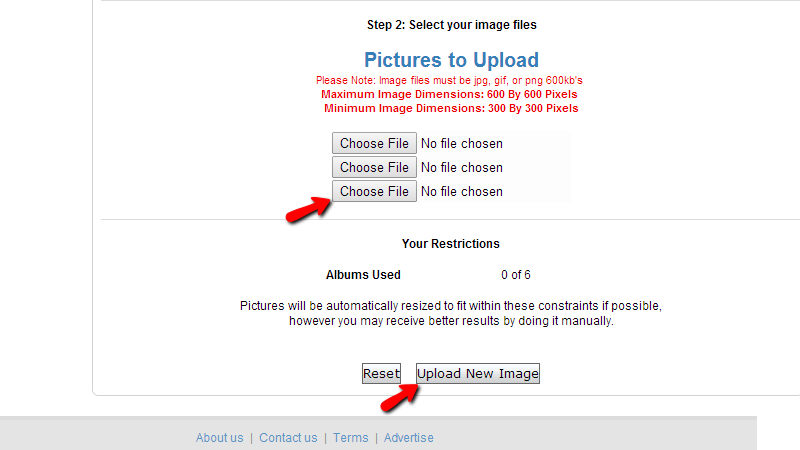
Once you are finished configuring your album where the pictures should be uploaded please move forward to the next section called “Step 2: Select your image files”. There you will need to select up to 3 pictures you can upload simultaneously and once you are finished you should simply use the Upload New Image button so the upload process can begin.
Congratulations! You now know how to upload multiple media formats on your phpMotion website!

phpMotion Hosting
- Free Installation
- 24/7 phpMotion Support
- Free Domain Transfer
- Hack-free Protection
- Fast SSD Storage
- Free phpMotion Transfer
- Free Cloudflare CDN
- FFmpeg Support
