How to Manage Ads in phpMotion
Updated on Dec 10, 2015
Ads are advertising banners you can place on your website in order to increase the income from the website based on the clicks performed on these banners. In this tutorial we will show you how to manage the se banners.
Let’s begin with a simple explanation. The banners for your ads need to be displayed in an area of your website where there is no content already placed. So basically the banners are located at the top, bottom, left and right positions on your website and they are easily distinguished from the other content.
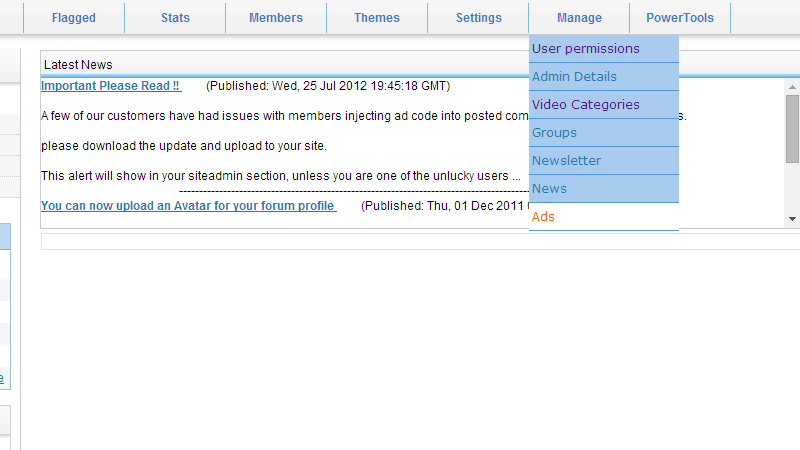
In order to manage all of these banners the phpMotion applications provides a whole separate section for this purpose available under your siteadmina area and then the Manage >Ads menu item.

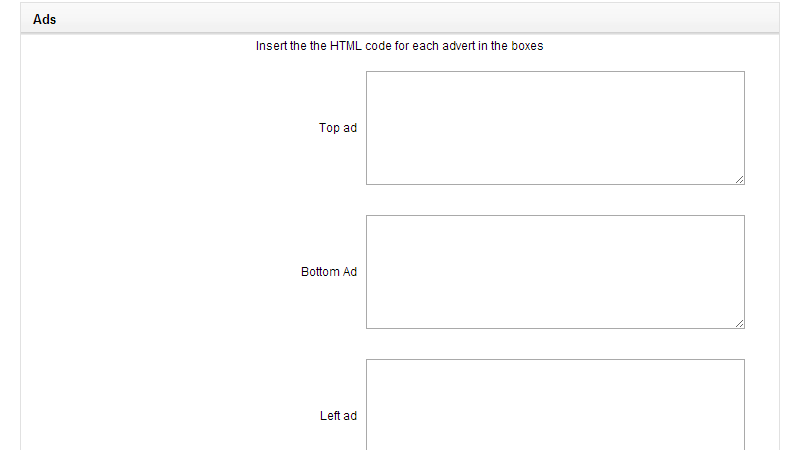
There you will be able to notice 4 fields which you will need to fill and a simple Update button which serves for saving the changes you have performed.

These are the fields where you will need to place the code for your banned. Usually this is short snippet of html code containing link where the banner will take the users to and also an image which will be displayed as an actual banner.
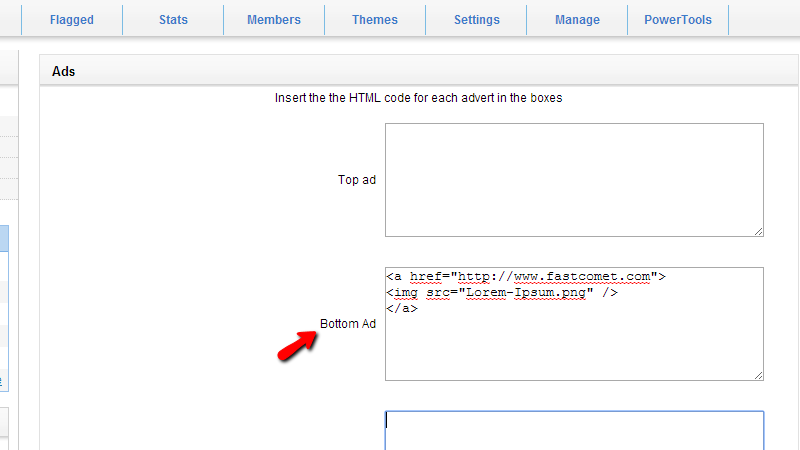
For example let’s put a banner at the bottom of your website. For this purpose we have used a “Lorem Ipsum” banner. In order to insert the banner we are placing the following snippet of code in the Bottom Ad field.
<a href="http://www.fastcomet.com">
<img src="Lorem-Ipsum.png" />
</a>
We strongly advice if you are not sure what that code will do to discuss how this code should be built with a developer.

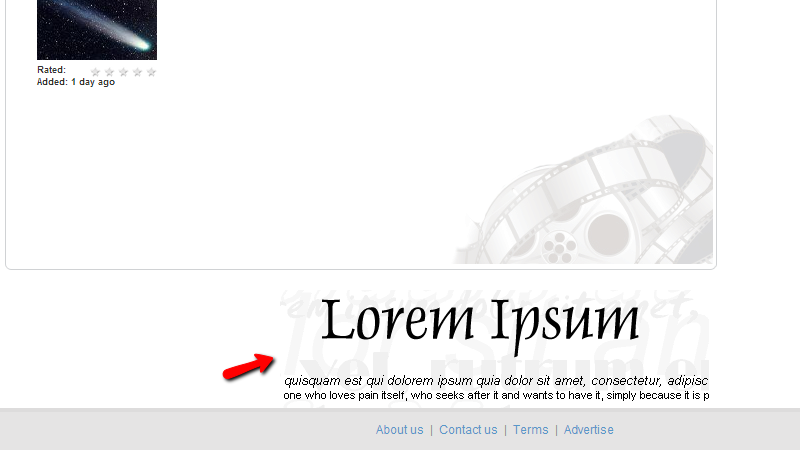
Next we will save the settings using the Update button located at the bottom of this page and voila our banner is successfully placed on the website.

You can perform the same action for any of the other positions you would like your banners placed at.
Congratulations! You can now manage the ads on your website!

phpMotion Hosting
- Free Installation
- 24/7 phpMotion Support
- Free Domain Transfer
- Hack-free Protection
- Fast SSD Storage
- Free phpMotion Transfer
- Free Cloudflare CDN
- FFmpeg Support