OpenCart 2 Error Reporting
Updated on Sep 8, 2016
If you experience any technical difficulties with your OpenCart 2 store it might be a good idea to enable the OpenCart 2 error reporting. These options will help you debug the issue by providing you with additional information on what exactly went wrong with your script.
OpenCart 2 supports two different options for error reporting. On the one hand, you may enable the general error reporting which will display the errors directly into your browser or you can activate the error logging which will write all errors into a file located in your OpenCart installation directory.
The inconvenience of the first method is that all of your visitors will be able to see the errors displayed on your website but see the errors directly via your browser may help you narrow down the problem.
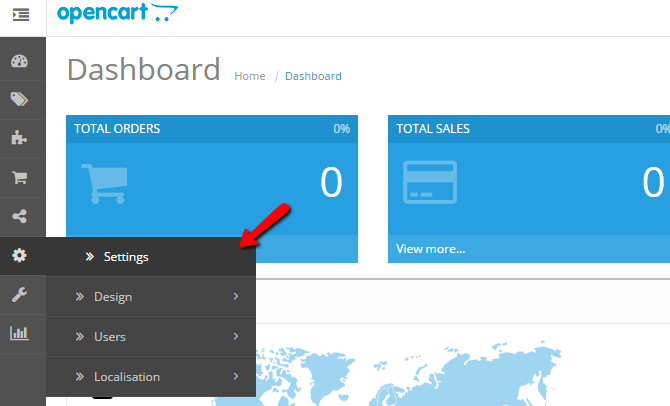
To activate the error reporting, please login your OpenCart 2 Admin dashboard and navigate to the Settings menu.

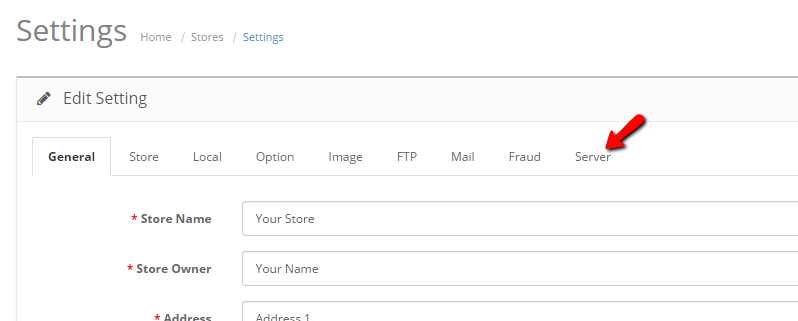
From the Store list click on the edit icon next to your store name and proceed to the Server settings tab.

Scroll to the bottom of the page and locate the Error reporting options.

If you enable the Display Error option, your site errors will be directly visible on your website. In case you would like to have all errors logged, enable the Log Errors option and make sure you have a valid error log name.
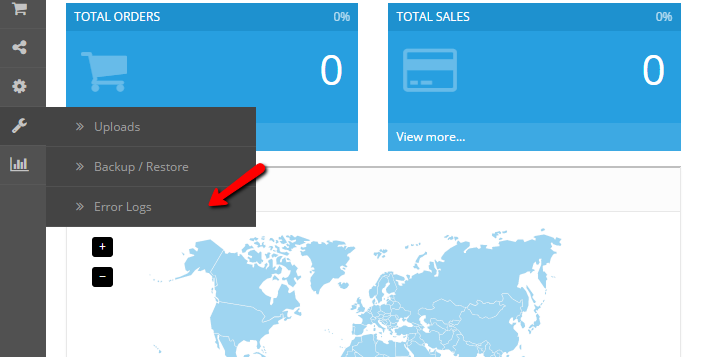
If you enable the Log Errors option you will be able to read your error log either by directly downloading it from your OpenCart 2 root directory or via the Admin Dashboard. To access the Error log via the admin area of your OpenCart, please refer to the Error Logs section via the main navigation menu.

Be advised that your OpenCart error log might get quite large in case your OpenCart 2 generates a lot of warnings or errors.

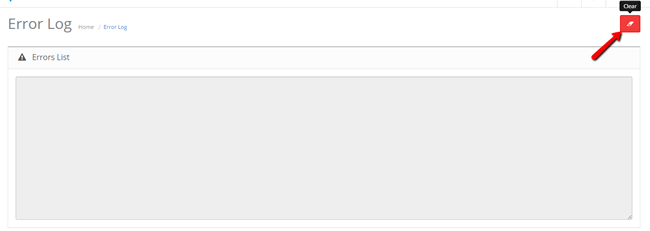
In case you have the Log Errors option enable you should regularly check the error log and clear it via the Clear Log option.

OpenCart 2 Hosting
- Free Installation
- 24/7 OpenCart Support
- Free Domain Transfer
- Hack-free Protection
- Fast SSD Storage
- Free OpenCart Transfer
- Free Cloudflare CDN
