How to Install Magento 2 via Softaculous
Updated on Feb 27, 2025
In this part of our Magento tutorial we will show you how to install Magento via the Softaculous Apps Installer we offer on all our Magento hosting plans. It is an excellent tool that automates the installation of countless applications via its user-friendly interface. All it takes is a few clicks to install your desired application. You only need to specify a few things before the installation and the installer itself will handle everything else for you. Read on and we will tell you what those steps are and how to use Softaculous in general!
This post includes:
step
Open Softaculous
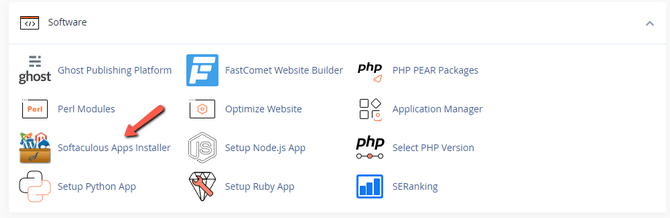
To begin, log into your cPanel account and head to the Software section where you will find the Softaculous Apps Installer. Check our tutorial on the installer for more in-depth information and to learn more about using it.
That will take you to the homepage of the installer. Time to find Magento. The easiest way to do that is to simply search for it in the bar on the left. Click it and you should see the main Magento page.
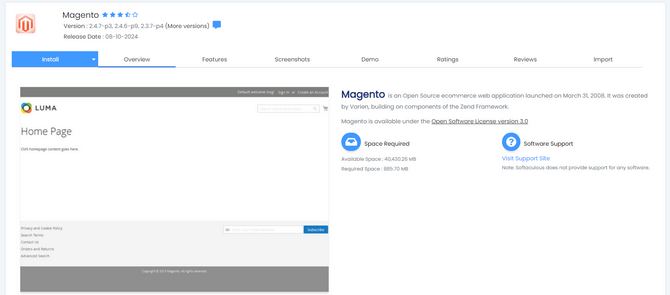
There are a few things you can do here aside from heading directly to the installation process. Here is a quick breakdown of all the tabs.
- Install - This will take you to the installation page for Magento;
- Overview - You will find a brief summary of the application you are trying to install–in this case Magento;
- Features - This is a brief list of all the key features of the application;
- Screenshots - Some sample screenshots of what the application looks like. In Magento’s case, an image of the default homepage and backend;
- Ratings - As the name suggests, Softaculous user ratings for Magento;
- Reviews - These are all the reviews Softaculous users have left for the application;
- Import - In case you have an existing Magento installation on the current or remote server, you can import it from here.
step
Install Magento
Since this is a tutorial about installing Magento, we will focus on the Install tab. You might have noticed there is an arrow next to it. That opens a small drop-down menu which offers you a choice between Quick Install and Custom Install. We will focus on the Custom Install since it is the exact same as the Quick Install but with more customization options. It is also what Softaculous defaults to when you click Install, instead of choosing from the drop-down.
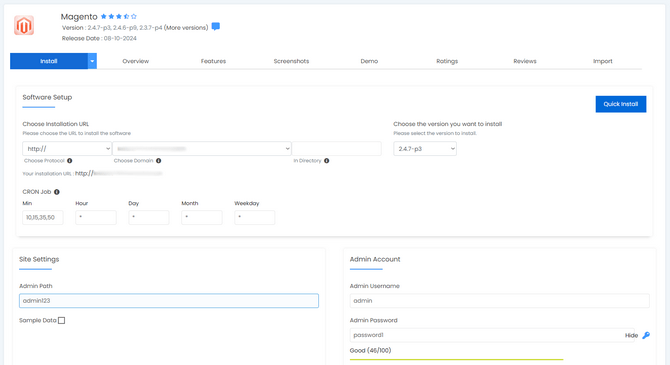
On this page you will see all of the variables you can customize prior to installing Magento. Since there are a lot of them, and some of them need some explaining, we have compiled them into a neat list for your convenience.
- Choose Installation URL - This is the URL you will use to access your application;
- Protocol - Here you can choose between http:// and https://. In other words, not secured or secured. You can also select if you want the URL to include www. We always recommend you choose https:// to ensure the connection to and from your website is secure. Here at FastComet all our customers have access to free, robust, and reliable SSL certificates to facilitate https://;
- Domain - This is the main part of your website’s URL. Write the domain name here;
- Directory - Magento must be installed in your domain’s root directory. Because of that you will get an error if you write a directory name in this field. Additionally, the installation directory has to be empty;
- Version - Softaculous offers multiple Magento versions. We always recommend you use the latest available one. In Magento’s case, however, we would understand if you chose a non-2.4 version since that one requires things like Elasticsearch and Redis to function;
- CRON Job - Magento uses a cron job (a scheduled task that executes at specific intervals) to manage many of its internal operations. That way they run smoothly and on time, instead of having to be executed manually. We recommend you leave this field as it is unless you have a specific setup in mind;
- Admin Path - In order to log into the Magento dashboard you must access the admin path. By default Softaculous assigns the easy-to-remember admin123, but we recommend you change it to something custom;
- Sample Data - You have the option to install demo data on your new Magento website. This will populate the site and its database with sample products and images. It is useful if you want to familiarize yourself with the Magento platform before building a website;
- Admin Account - This will be the account you use to log into Magento’s dashboard;
- Admin Username and Password - As with any other account, you must specify a username and password. Ensure the password is strong. You can click the key icon to have Softaculous generate one;
- Admin First and Last Name - Input your desired first and last name for the admin here;
- Admin Email - This email is vital. You must write a legitimate email address here because Magento will send a 2FA email to it the first time you log into the dashboard. Additionally, you can use this email as the Owner, Sales, and Support email by ticking the box below the field;
- Advanced Options - The only things you can change here are the database name and prefix. Unless you have something specific in mind you can leave them as their default values.
Notice
Our hosting services fully support Magento 2.4 alongside its requirement for Elasticsearch. That additional requirement should not dissuade you from using the newest Magento version. Our Shared Hosting customers can purchase Elasticsearch as a Cloud App from our Marketplace, while our VPS and Dedicated CPU customers can contact us for its installation.
These are all the variables you can change in Softaculous when installing Magento. Once you are happy with your setup click on Install and the process will begin.
step
Finalizing the Installation
After a few moments the installation process will finish. You should not get any errors. If you do, Softaculous will tell you exactly what the issue is. The most common one is that there is something already in the installation directory. Once the process successfully completes, though, you should see this page.
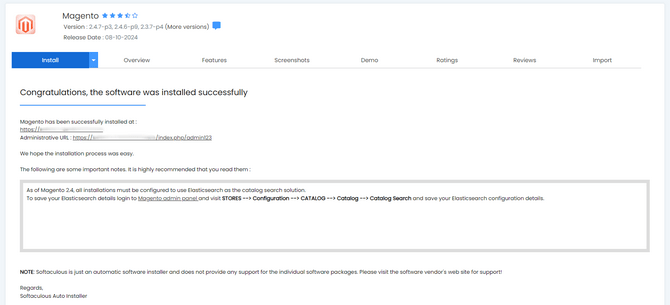
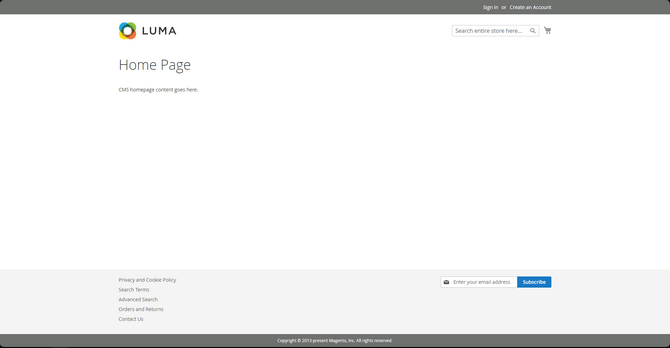
You have your new Magento website’s URL and admin URL. Clicking on the URL will take you to your website’s homepage.
The admin URL will open the dashboard login page. Magento makes account security one of its top priorities, so once you have logged in you will be required to enable Two-factor Authentication. That is nothing new and is a great feature to ensure account security. We offer 2FA for both your FastComet.com account and your cPanel account.
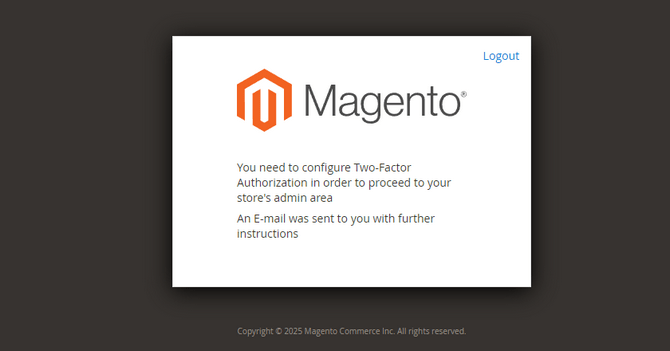
This requirement is why we mentioned it is vital you use an actual email address during the setup earlier. Head to that email address and you should see a message from your new website. There will be a link in it. Open it and you will be taken to the 2FA activation page.
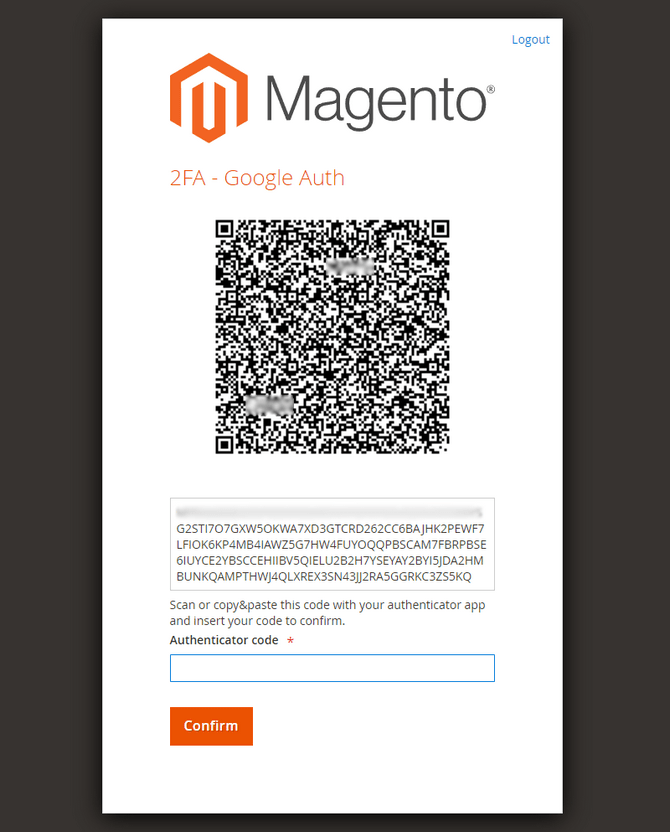
Open your preferred authenticator and scan the QR code or enter the alphanumerical code in it. You can check our tutorial on 2FA for your FastComet.com account from above for more details. Once you have added the Magento website to your authenticator you will see a six-digit timed code. Write that in the page you scanned the code from and click Confirm. With that you have set up Two-factor Authentication for your new Magento website and you can proceed to the dashboard.
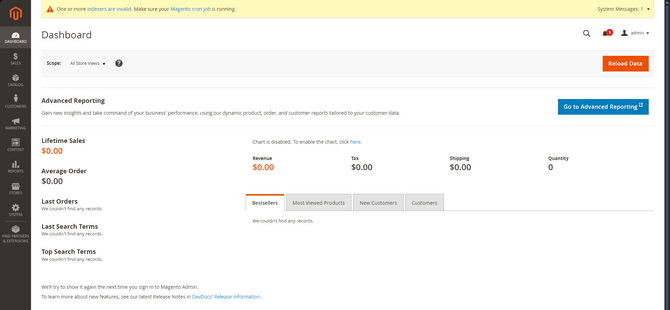
And there you have it! You have successfully installed Magento via the Softaculous Apps Installer! Quick and easy! You are now ready and set to begin building your website with one of the world’s most robust and advanced eCommerce platforms.
On this page...

Magento 2 Hosting
- Free Installation
- 24/7 Magento Support
- Free Domain Transfer
- Hack-free Protection
- Fast SSD Storage
- Free Cloudflare CDN
- Free Magento Transfer
- Immediate Activation
