How to Manage Product options in Loaded 7
Updated on Dec 10, 2015
This tutorial will review the process of managing the available options for products on your Loaded Commerce website. For example, you can create options, such as a Color, Size and much more and then assigned them for products on your website. This is a good way of creating the available options for your products first and then simply assigning them when you create the actual products.
To access the Product Options manager, you need to access the administrative dashboard of your website first. Click on the Products tab from the left side menu.

Select the Options Manager option on the right side menu.

To create a new option, you need to click on the New Group button at the top of the screen.

Edit the following options for the new options group:
- Name - Enter the name of the new options group;
- Display Module - Choose the type of the new options group, such as a drop down, text field, etc;
- Sort Order - Enter a sort order number for the new options group.

When you complete the fields in question, you need to click on the Save button. This will create the new options group. Click on it's name from the list of available options groups in order to add options to it.

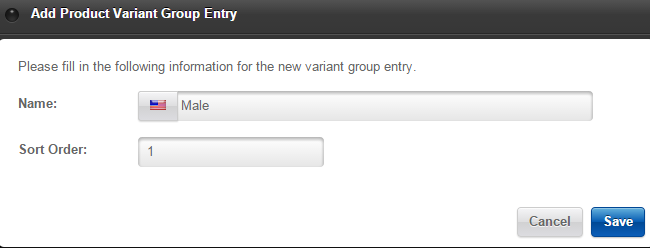
To add a new option to the group you created, simply click on the New Variant button at the top.

Enter the option details as follows:
- Name - Enter the name of the option;
- Sort Order - Enter a sort order number for the new option in the created group.

You can add as many options to the group you created. This will allow you to configure all of the options that you wish to use on the products of your website.

Loaded 7
- Free Installation
- 24/7 Tech Support
- Free Domain Transfer
- Hack-free Protection
- Fast SSD Storage
- Free Cloudflare CDN
- Free Website Transfer
- Immediate Activation