How to use the Branding Manager in Loaded 7
Updated on Dec 10, 2015
This tutorial will review the process of setting up the basic details of your Loaded Commerce website. This includes the editing of the homepage text, the store details, such as a name, address and much more. This configuration includes 7 different steps that we suggest for a proper base configuration of your new online store.
All of the basic information options are available via the administrative area of your website. You simply need to click on the Marketing button on the left-side menu in order to access the Branding Manager in Loaded Commerce.

The basic information setup in Loaded Commerce includes:
Home Page
The home page option allows you to change the text that will be displayed when someone is accessing your website's homepage. This feature allows you to display a welcome message to your clients or inform them about promotions, currently available on your website. To edit that, access the Branding Manager, following the instructions above and then click on the Home Page tab. Enter the text that you wish to display within the editor.

Click on the Save button to keep the changes. After that, simply access your home page and you will be able to see your message.
Header
The Header tab will allow you to edit the following options:
- Catalog Logo - You can upload a logo of your choise on your website. This is a good option that allows you to customize your website precisely for your business, displaying a custom logo for your customers.
- Site Name - Enter the name of your online store.
- Site Slogan - Enter a slogan for your website.
- Live Chat Code - If you would like to use a chat service for your website, you can simply enter the code for it here.

Company Info
The Company Info feature allows you to enter the following details for your online store:
- Address - Enter the physical address of your store or company;
- Support Phone - Enter a phone number customers can use to reach you;
- Support Email - Enter an email account customers can use to reach you;
- Sales Phone - Enter phone number for sales department;
- Sales Email - Enter email account for sales department.

SEO
The SEO tab on the Branding Manager will allow you to:
- Open Graph Site Thumbnail - Upload a thumbnail that will be displayed on social network postings, such as on Facebook.
- Meta details - You can enter the meta details for your website in order to improve the SEO of your website.

Social Links
You can enter direct links for Facebook and other social networks. This feature is useful as you will link your website to the accounts you have created for it into the major social networks.

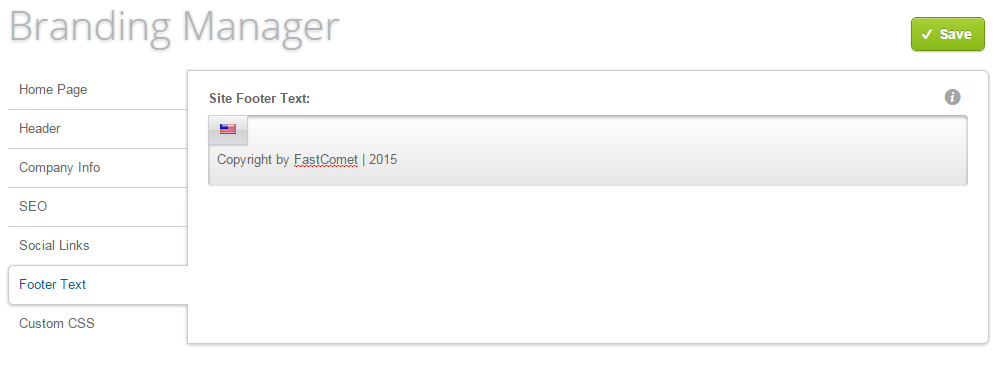
Footer Text
Enter a footer text on your website, such as copyright information or else. When you are ready, simply hit the Save button.

Custom CSS
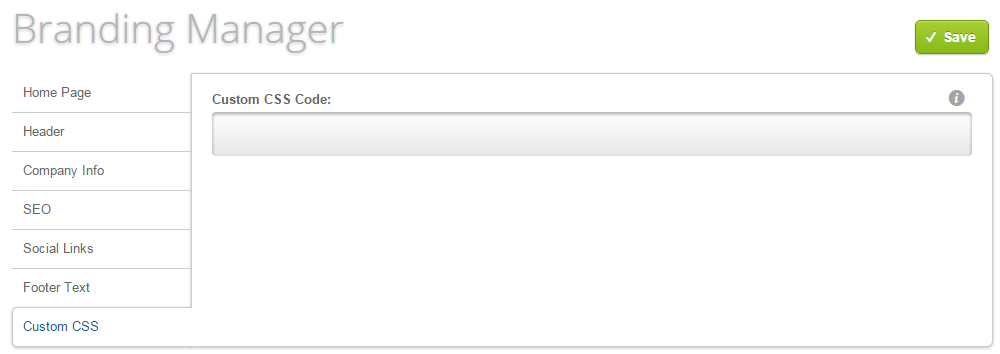
You can add custom changes on the CSS for your website. Important feature if you are familiar with CSS.

Simply enter the CSS class changes you wish to perform on your website and click on the Save button to accept them.

Loaded 7
- Free Installation
- 24/7 Tech Support
- Free Domain Transfer
- Hack-free Protection
- Fast SSD Storage
- Free Cloudflare CDN
- Free Website Transfer
- Immediate Activation
