Assigning Database
Updated on Jul 11, 2024
Attaching your brand new database to Laravel is very easy. The developers have made the process extremely simple; you will see it yourself when we explain it.
To start, go to the config/database.php file in your Laravel application.
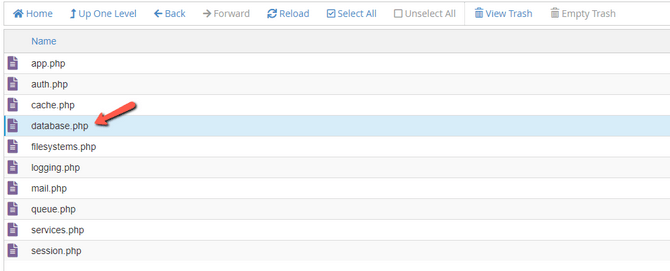
Open it, and you will see a line that defines the default database connection.

In our case, it is set to MariaDB since that is the type of database we created earlier. You can change it to anything you need. Further below in the file, you will also see that the MariaDB connection looks for the database's name, user, and password in the env file, so that is where we are heading next!
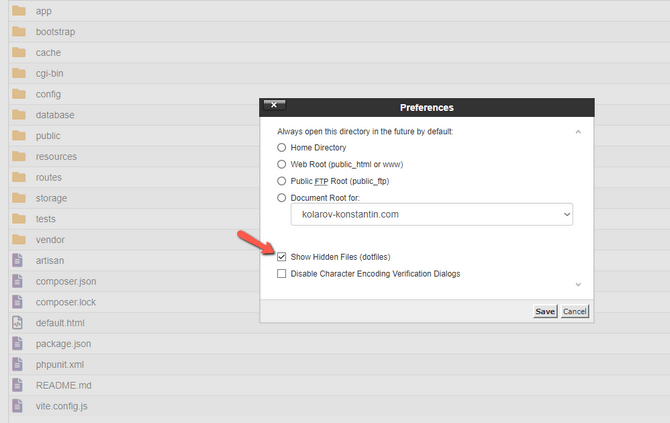
Return to the root directory of your Laravel application and find the .env file. Since files that start with a dot (dotfiles) are considered hidden by Linux, you might not be able to see them if you are using cPanel. To show hidden files, click the cog at the top right of your file viewer and enable the option.
If the file is still not showing, the Laravel installation did not create one for you. That is normal, and you can simply rename the .env.example file to just .env. When you open the file, you should see something like this.
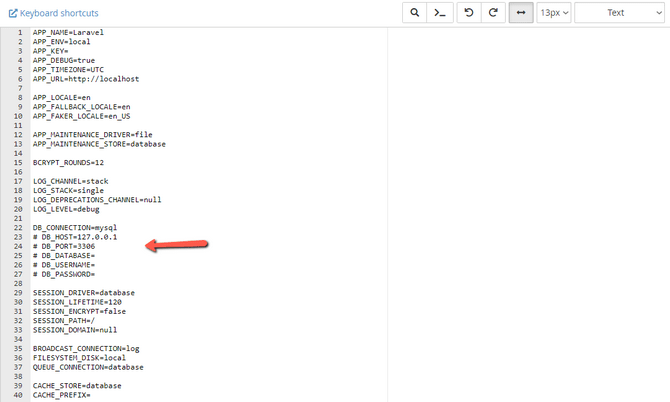
For the moment, we are only interested in the database section. It should already be using the MariaDB connection; if not, fill that in. The database host line corresponds to where the database resides. For example, if you are using a hosting server, you can leave the value as localhost, 127.0.0.1, or the server's IP since the database and application are hosted on the same server. If the database is on a different server, write its IP address. That also applies for the database port: depending on where the database is, the port may differ. The default MariaDB port on many systems is 3306. Finally, input your database's name, user, and password.
Click Save Changes in the top right, and you can close the file afterward. Your Laravel application is now using the specified database.