Integrate Zopim Live Chat with Joomla 3
Updated on Dec 10, 2015
Warning!
Zendesk bought Zopim on April 10, 2014. The new service does not abide by all of the previously established terms and no longer provides free accounts for partners rendering this Tutorial Section out of date.
This tutorial will review the process of integrating the Zopim Live chat service with your Joomla 3 website. This is an easy process and it will allow you to chat with the visitors on your website in real time. This way, you can provide valuable information for their needs.
To integrate the Zopim Live chat with Joomla 3, you need to:
Get the Zopim Addon
The first step of the Zopim integration is to sign up for it. FastComet is an official Zopim reseller and we offer a free account setup and integration on all of our SSD Joomla Hosting plans. If you are an existing client, you can log into your Client Area. Navigate to the Order section to proceed.
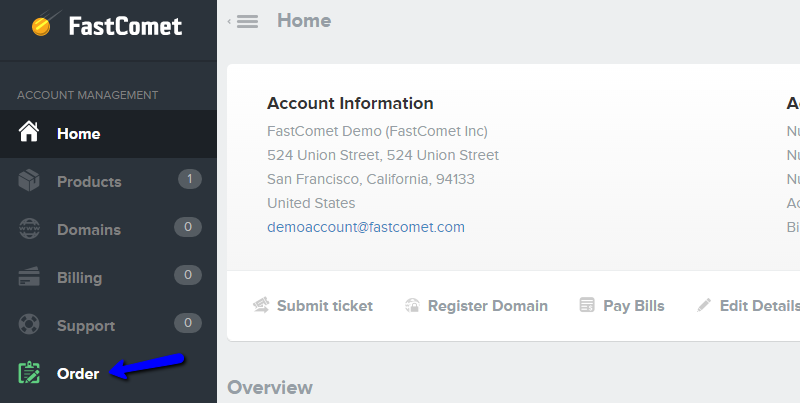
Select the Product Addons tab from the navigation menu in order to list all available addons.

Scroll to the Zopim Live Chat addon and click on the Add to cart button to get the service.
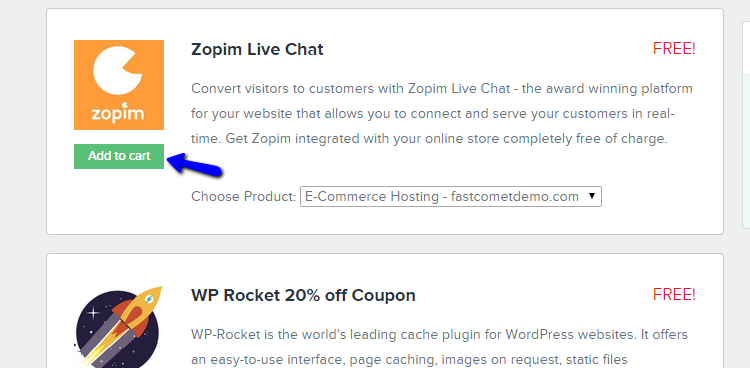
Complete the entire order process for the Zopim live chat addon. Note that it is completely free of charge so you do not need to worry about any payments. Once you complete the order, you will receive a confirmation email with a link to your Zopim account and the login details for it.
Integrate Zopim With Joomla
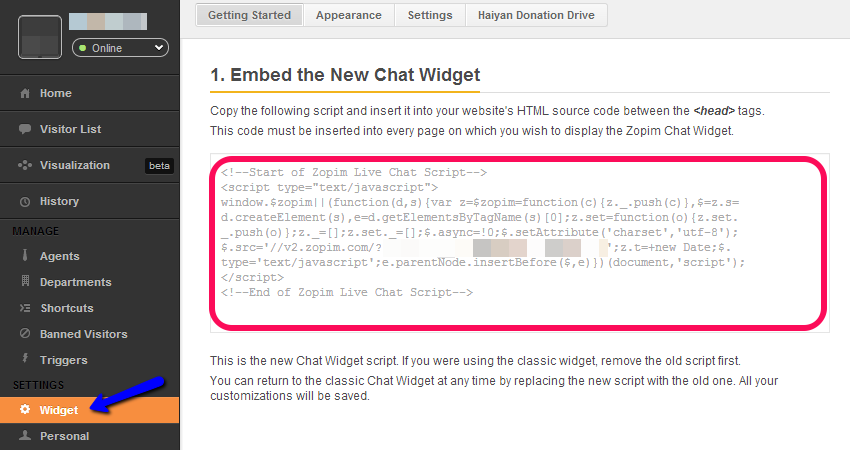
Once you get the Zopim addon, you can safely proceed with it’s integration on your website. For this purpose, you will need to get your Zopim Widget code in the footer of your website. To find the widget code, you can log into your new Zopim account and locate the Widget tab first. Then, you will see the code in the Embed The Live Chat Widget.
Log into the administrative area of your website as admin. Locate the Extensions tab from the main menu and then Template Manager.

Click on Templates and then the name of the template you are using on your website.
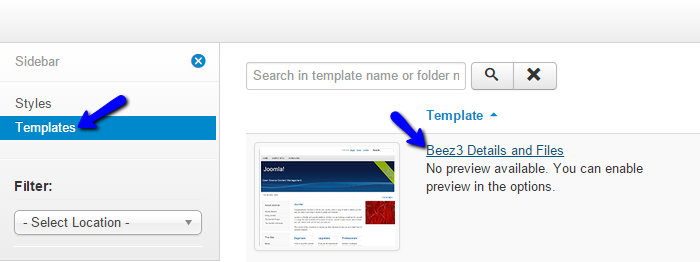
You will see the files of your template and you can edit them directly here. Select the index.php file.

Search for the </body> tag in the file and then simply paste the Zopim widget code before it.
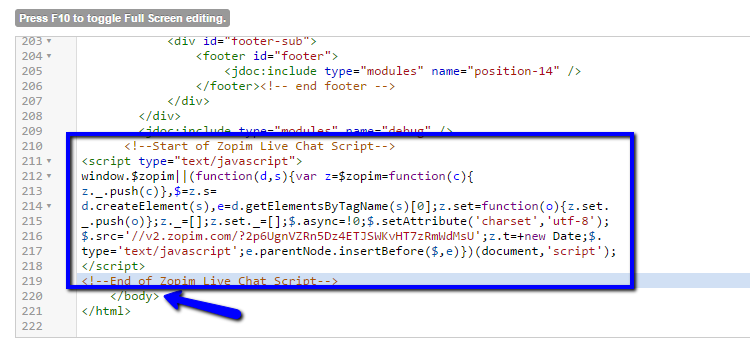
Click on the Save button at the top to keep the changes.

Joomla Hosting
- Free Installation
- 24/7 Joomla Support
- Hack-free Protection
- Fast SSD Storage
- Free Domain Transfer
- Free Joomla Transfer
- Free Cloudflare CDN
