Change Admin Password in Joomla
Updated on Mar 13, 2019
This tutorial reviews the process of accessing the admin area of your Joomla installation, using the default admin account. We will also review the steps to change the password for that account.
To change your Administrator password in Joomla, you need to:
Log in as Administrator
When you complete the installation of Joomla, you can access the administrative area of your website, using the following link:
http://www.example.com/administrator/
where example.com is your actual domain name. This example is valid if you have installed Joomla directly within the public_html/ directory of your account. However, if you have installed the script within a subfolder, you will have to use the following link instead:
http://www.example.com/joomla/administrator/
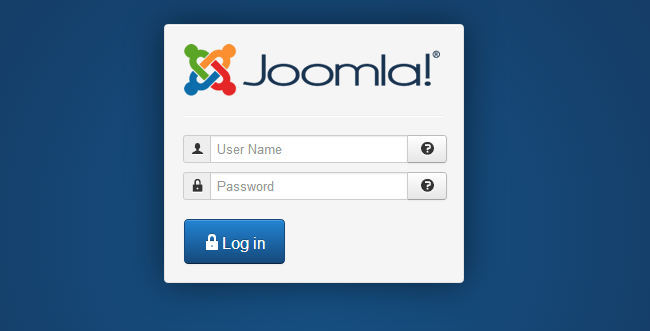
where example.com is your domain and “joomla” is the name of your subfolder. You can simply substitute both with the actual names that you have used on your account. When you type the correct URL for your admin area, you will see the login screen.

There are two fields where you have to enter the details of your Joomla admin user:
- User Name - Enter the name of the admin user on your website. In most cases, this is set to "admin" by default.
- Password - Enter the password for the admin user on your website.
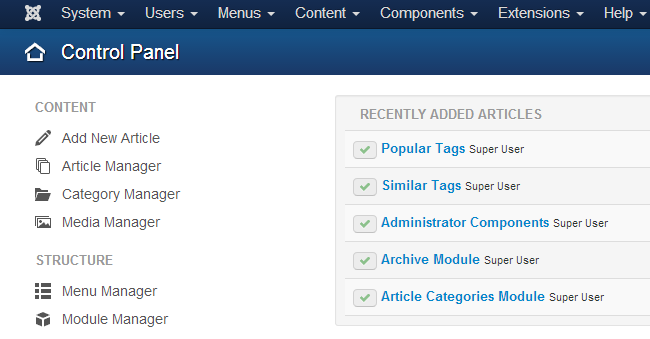
When you enter your login details, simply click on the Log in button to proceed further. The system will check if the details are correct will redirect you to your Joomla admin panel.

Change the Admin Password
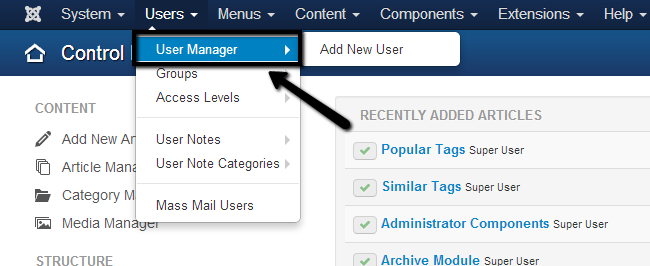
The next step is to change the password for the default administrator on your Joomla website. As you have already logged in as administrator, you now need to click on the Users tab from the main menu and then go to User Manager.

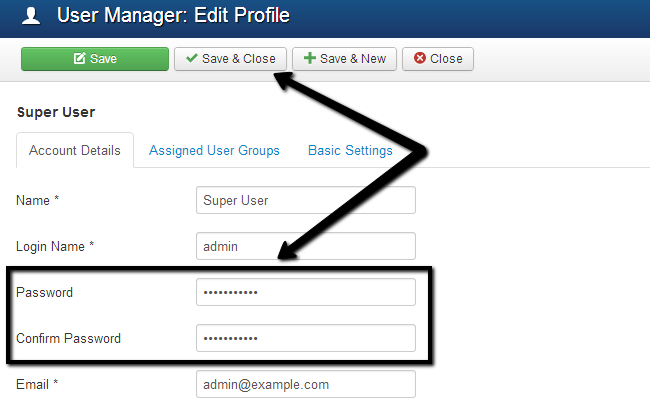
Click on the name of the admin user on your website. Its User Group will be set to Super Users.

Edit the following two fields:
- Password - Enter the new password for the default administrator.
- Verify Password - Re-enter the new password for verification.

Click on the Save & Close button to keep the changes.

Joomla Hosting
- Free Installation
- 24/7 Joomla Support
- Hack-free Protection
- Fast SSD Storage
- Free Domain Transfer
- Free Joomla Transfer
- Free Cloudflare CDN
