How to Restore your Ghost Blog
Updated on Jul 13, 2018
In this tutorial we will show you how to restore your Ghost Blog data. To restore your Ghost posts, pages, general settings and user information please access the Ghost Debug page at:
https://example.com/ ghost/debug/
Please replace example.com with your actual domain or IP address.
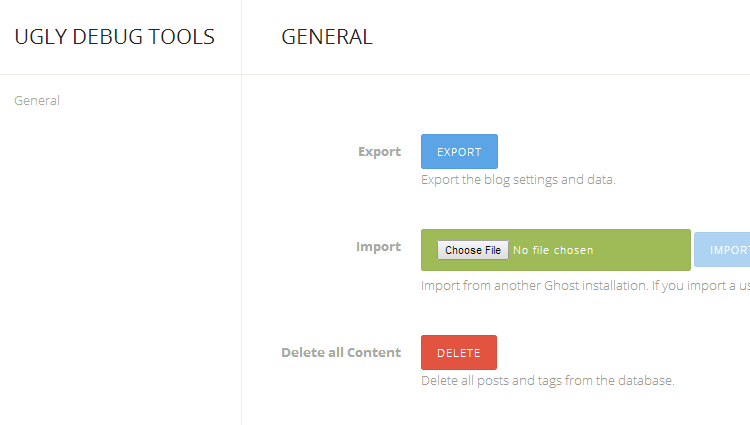
After logging with your Ghost admin email address and password you will be directed to the Ghost Debug section.

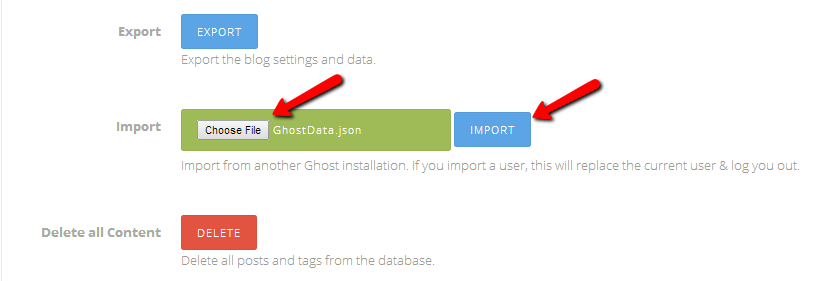
On this page you should see the Import option available on the Ghost debug page. To import your Ghost json back up file, please click on the Choose File and select the json file from your local computer. When you are ready click on the IMPORT button on the right.

After a short period you should have your data imported into your Ghost blog and see all of your posts and pages. Still, this does not restore your images which you might have uploaded into your posts. To restore your images, please connect to your Ghost server via your favorite FTP client and navigate to the Ghost installation directory.
Under the Ghost main folder you should locate the /content directory. Under the content directory is located the images folder which contains all of your attachments. If you have a back up of your previous Ghost installation /images directory you can upload the content here to make your uploads available to your new Ghost instance.

Ghost Hosting
- Free Ghost Installation
- 24/7 Ghost Support
- Hack-free Protection
- Fast SSD Storage
- Free Domain Transfer
- Free Ghost Transfer
- Immediate Activation
- Free Cloudflare CDN
