How to Manage Blocks in Drupal 8
Updated on Mar 13, 2019
Managing blocks in Drupal 8 is a bit different from previous versions as the Blocks menu has been revamped and is now called Block layout.
The block managing process includes the following steps:
Add a new Block
To add a new block on your website, you will need to login to your admin account and navigate to the Manage → Structure section.

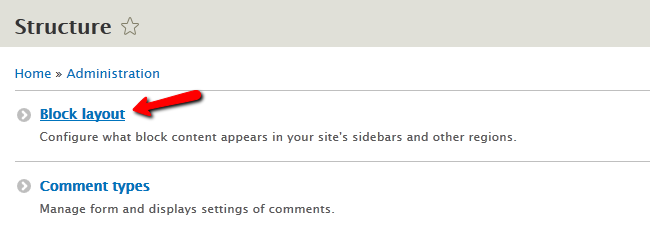
Click on the Block layout menu.
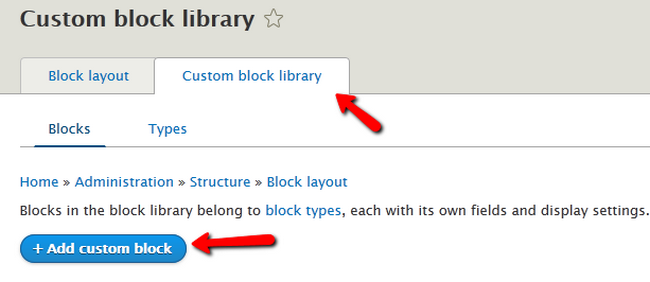
Select the Custom block library tab and hit the +Add custom block button.
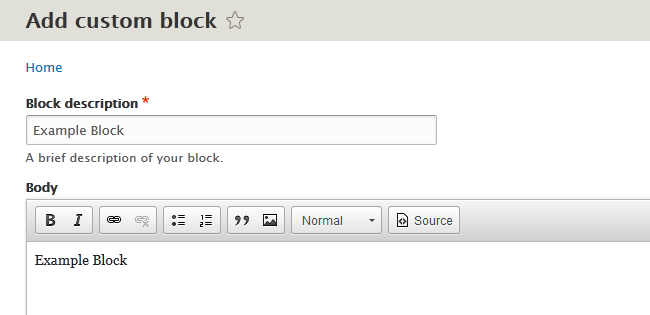
We will name the new custom block - Example Block. You will also be able to put revision notes if you update this block in the future to mark exactly what changes you have applied.
To finish the creation of the block, please click the Save button at the bottom of the Page
Place and Publish Blocks
To place the newly created block on your website you will need to select a position for it.
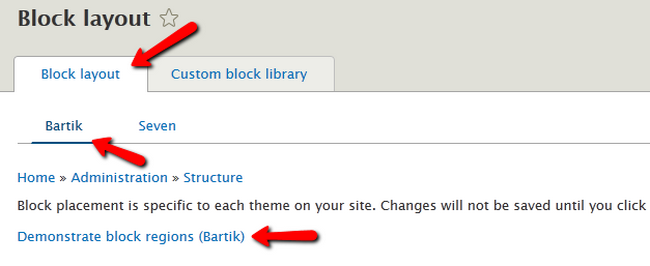
To do this, you will need to return to the Block Layout tab and review the block regions for your theme (in this example we will show the above the fold regions in the default Bartik Theme)
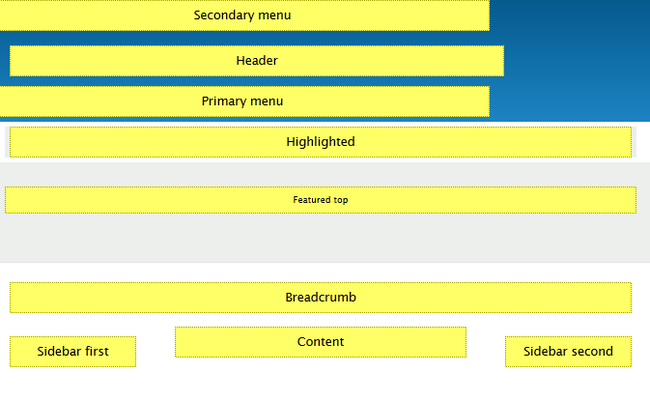
Let us choose the Sidebar second region for this block by clicking on the Place block button.

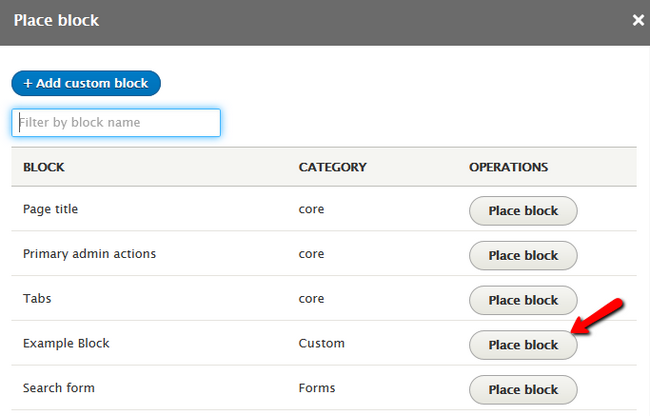
Now you will need to find the Example Block and again hit the Place block button to insert it in that region.
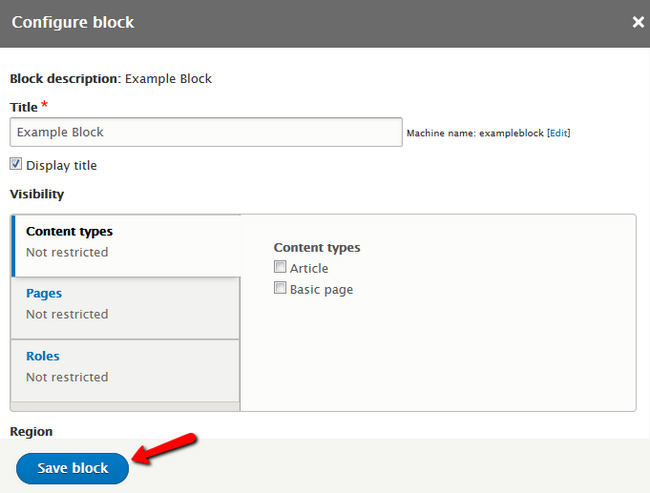
Configure the block's Title and Visibility restrictions and click on the Save block to finalize the process.
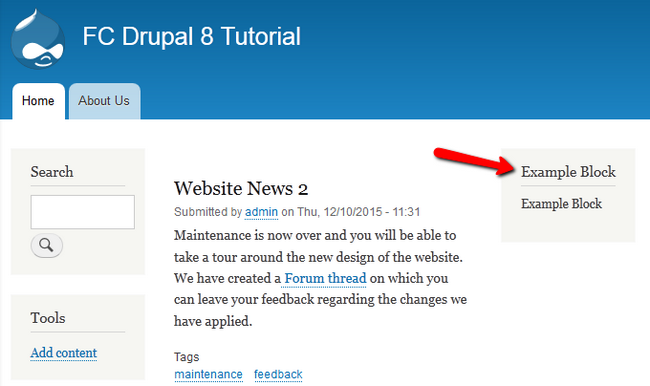
If you now go to the front-end of your Drupal 8 website, you will see the newly created block in the correct region.
This concludes our tutorial on block management in Drupal 8.

Drupal 8 Hosting
- Free Drupal 8 Installation
- 24/7 Drupal 8 Support
- Free Domain Transfer
- Hack-free Protection
- Fast SSD Storage
- Free Drupal Transfer
- Free Cloudflare CDN
- Immediate Activation
