How to register your Dolphin license
Updated on Dec 10, 2015
Currently Boonex Dolphin comes with two types of licenses – Standard and Prime. The cost of these licenses and the features they provides are listed at the official Boonex Dolphin purchase page.
If you decide to purchase a license and you are wondering how to apply the license on your already built Social Community website this tutorial will show you how in few steps your license will be applied and working.
Step 1 Simple Activation
If you have used a trial version of the Boonex Dolphin platform until now you were most probably prompted with a message indicating that you should purchase a license and add it. Thus once you purchase your license you can simply logout from your administration area and then login again for that message to be prompted once again.

As you understand your license will be encoded string once you receive it and you will simply need to paste that string into the License field in the prompted message. Next if you press the “Register” button you will be able to register the license.
Step 2 Advanced Activation
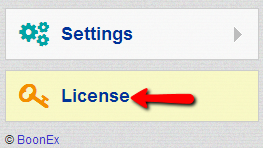
If you would like to avoid the logout/login step you can directly input the license into the additional page of your admin area called “License”. That page is available in your Administration area > License.

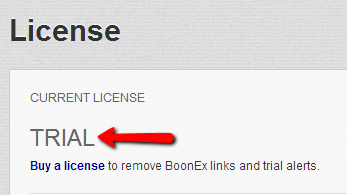
There you will be able to see a single section where your current license type is listed. This can also serve as verification of your license once it is activated.

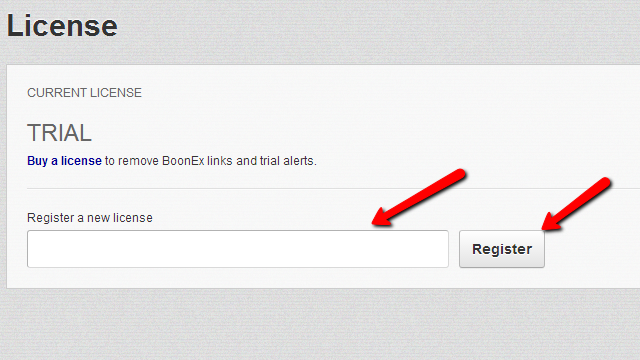
In the same section you will also find the registration form from the prompted message on login where you can also register your license. Assuming that you have not activated your purchased license and you are on this page you can simply input the license into the text field and then press the “Register” button:

Once the purchased license is registered you will be able to notice it with the change of the “TRIAL” word in the same interface to the concrete license you have purchased – “STANDARD” or “PRIME”
That’s it! You can now register your newly purchased Boonex Dolphin license!

Dolphin Hosting
- Free Dolphin Installation
- 24/7 Dolphin Support
- Hack-free Protection
- Fast SSD Storage
- Free Domain Transfer
- FFmpeg Support
- Free Cloudflare CDN
