How to Add Products in CS-Cart
Updated on Mar 13, 2019
This tutorial will review the process of adding or managing products on your CS-Cart website. This is one of the main features as the application is designed for online stores and you need a way of adding your products.
The first step is to create product options or product categories. This will allow you to easily add a new product after that. Log into the administrative area of your website. Click on the Products menu item and then the Products option.

Click on the Add Product button at the top-right corner of the screen.

You can edit quite a lot of different options for the new product on your website. They are divided into 6 smaller sections and we will review them all for a better understanding on how to configure your new products.
The first section is the General tab. The options you have on it are:
- Information - Enter the name of the new product, select it's category, set a price, product status, etc.;
- Pricing/Inventory - Set the inventory information for your product, such as quantity, list count, etc.;
- Availability - Set specific date, when the product will be available or not;
- Extra - Set some extra information for your product, such as description, keywords, popularity, etc.

The second tab is the Images. It allows you to upload actual images of the product, so your clients can get a better feel of it.

Next is the SEO tab, which provides options for better optimization of your product for search engines. The options are:
- SEO - Set the SEO title of the new product;
- Meta Data - Enter the meta data for the new product, such as page title, meta description, etc.

The next tab is the Quantity Discounts. It will allow you to set a discount for bulk purchasing of the product.

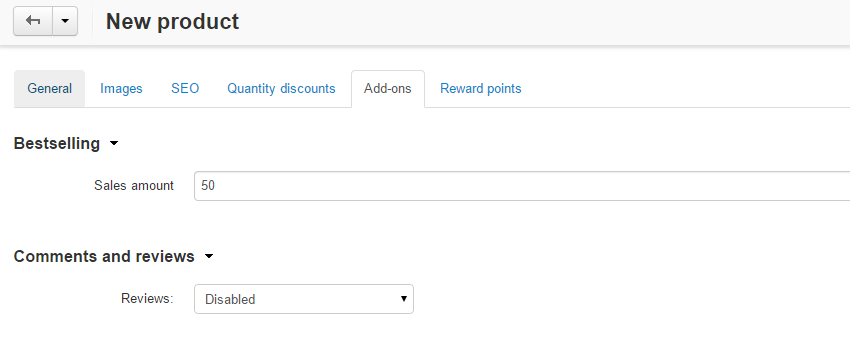
The next tab is the Add-ons. Here, you will be able to use the features of additional modules on your website. For example, you can enable commenting on the product, set it as bestselling, etc.

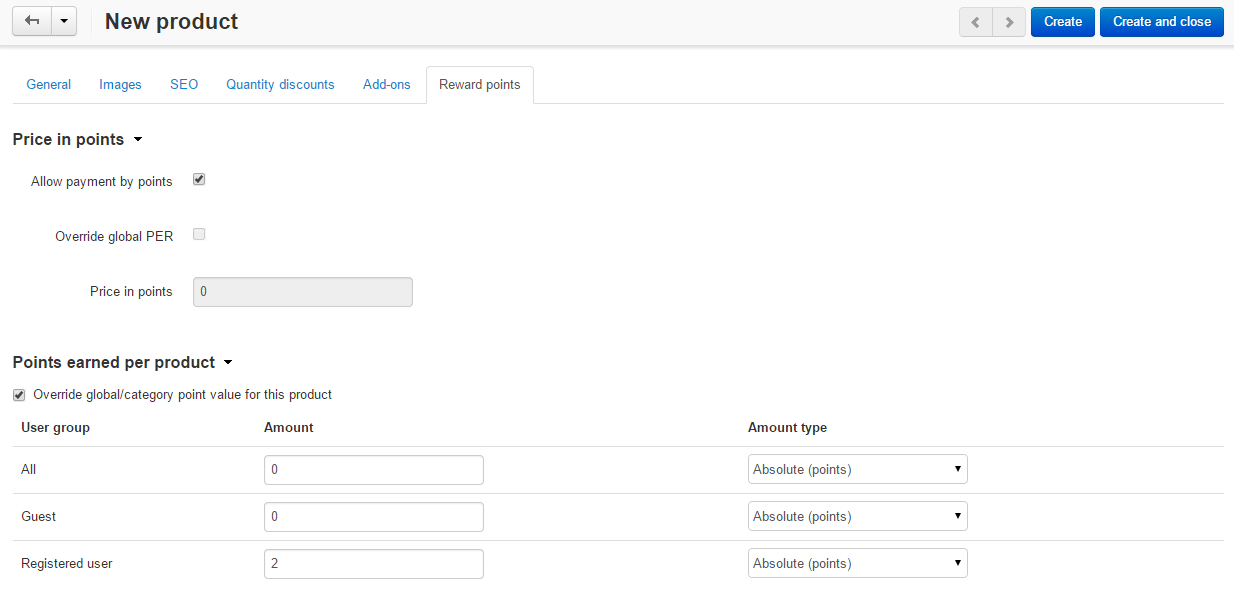
When a customer purchases this product, you can provide Reward Points for that. With those reward points, the customer will be able to purchase additional products on your website. This is a good feature that will make your website and your products more compelling for customers.

That is all. You simply need to click on the Create button at the top-right corner and the system will create the product for you, using the options you have set for it.

CS-Cart Hosting - free features
- Free CS-Cart Install
- 24/7 Expert Support
- Free Domain Transfer
- Hack-free Protection
- Fast SSD Storage
- Free CubeCart Transfer
- Free Cloudflare CDN
- Immediate Activation
