How to restore Files & Folders via JetBackup
Updated on Sep 7, 2018
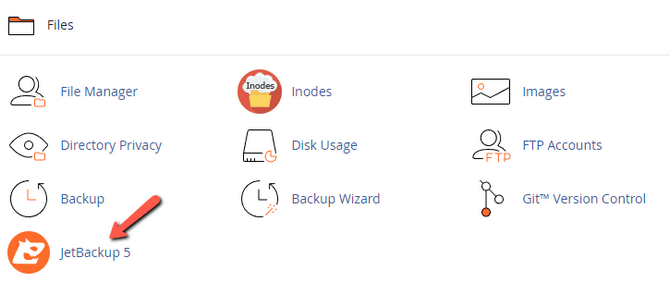
To restore any single file or a whole folder from your account's backups simply log in your cPanel and click on the JetBackup button, in the Files section.

JetBackup
JetBackup is not included by default in cPanel and might be missing from your account if you host your website with a different hosting provider. All FastComet clients on a Shared Hosting server should see JetBackup in their cPanel.
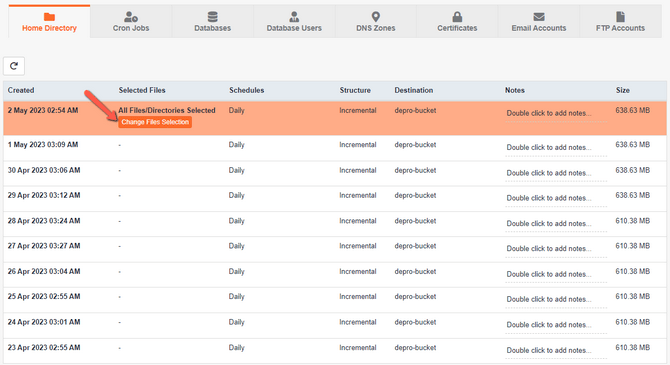
Click on Home Directory to open the restore interface for files and folders. To initiate the process, select the desired backup date from which you would like to have your data restored and click Change Files Selection.

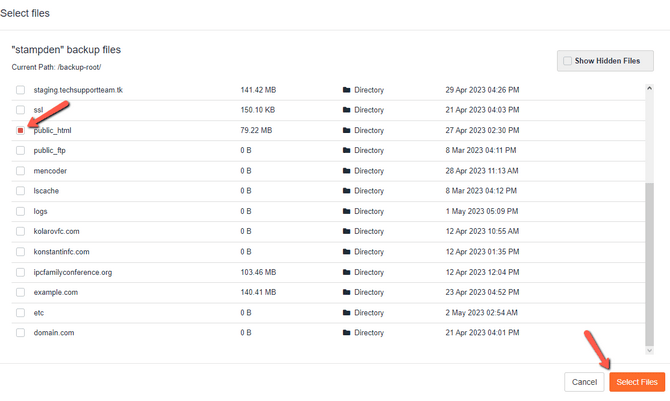
On the pop-up page, mark the desired file or folder that is going to be restored. You can navigate through directories by clicking directly on them. You can go back via the navigation bar near the top of the page. Once you have selected what you need to restore click "Select Files".

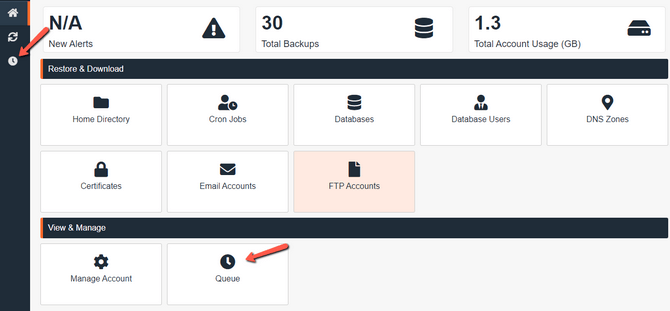
Then, click on Restore which will initiate the restoration process itself. Depending on the size of the file or folder the process might take a few minutes to complete. You can track the progress of the restore by going into the Queue from the main JetBackup screen.

Warning
During the restoration process, your cPanel might suddenly show you an Internal Server Error. Do not be alarmed, this is normal. This happens because while the files are being restored the system changes the permissions of your entire account. It will not be accessible, and therefore no new data will be added to it while the restoration is ongoing. This way the system prevents any possible conflicts that may occur due to this new data. Once the restoration is over, the account will return to normal.
When the restoration is completed, you will see a green message of success. You have now restored your files!

cPanel Hosting
- Free Domain Transfer
- 24/7 Technical Support
- Fast SSD Storage
- Hack-free Protection
- Free Script Installation
- Free Website Transfer
- Free Cloudflare CDN
- Immediate Activation
