How to install themes in Concrete5
Updated on Dec 10, 2015
In this tutorial, we will review the process of installing a theme in Concrete5. At certain point, you may decide that you would like to make your website look different. The installation of a new theme will allow you to achieve that. We will review the steps for such an installation so you can complete it easily on your end.
Create a Backup
It is recommended to create Concrete5 backup, before making major changes on your website. This allows you to restore it to a fully operational state if something goes wrong.
There is a number of different themes, designed especially for Concrete5 websites. Those themes will re-design the front end of your website and make it look the way you want. The process is quite easy and automated so we will review the steps for a new theme installation on your Concrete5 website so you can get a better understanding of it.
The first step is to access your website as administrator and click on the Dashboard button at the top-right corner of the screen. Then, click on the Extend Concrete5 button to proceed.

Then, you need to connect to the Concrete5 Community profile. For that purpose, you need to register at the official Concrete5 website. Once you have a valid registration, click on the Connect to Community button to proceed.

Enter your username and password and click on the Sign In button.

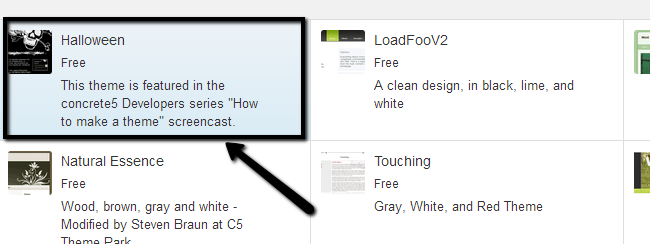
Find a theme that you wish to install and click on it.

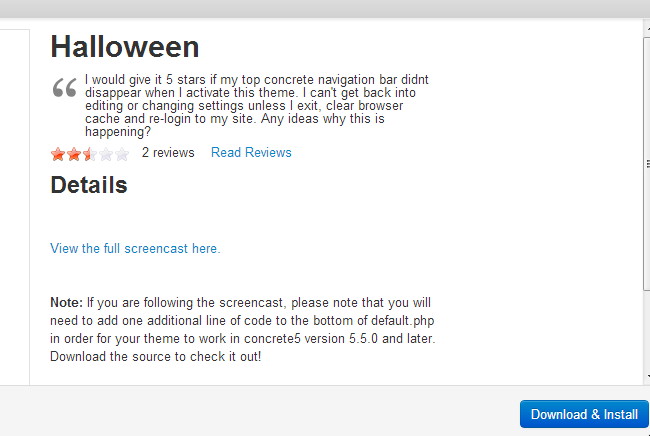
Click on the Download & Install button to initiate the process.

Click on the Dashboard button again and Locate the Pages & Themes section and click on Themes.

Locate the newly installed theme and activate it.


Concrete5 Hosting
- Free Installation
- 24/7 Support
- Free Domain Transfer
- Hack-free Protection
- Fast SSD Storage
- Free Transfer
- Free Cloudflare CDN
- Immediate Activation
