How to Manually Install ClipBucket
Updated on Mar 13, 2019
In order to use the Clip Bucket application you will need to install it on your website. The installation process is fairly simple and in this tutorial we are going to show you how to complete the manual installation process using the provided installer from Clip Bucket.
To manually install ClipBucket, you need to complete the following steps:
Step 1 Prepare the Files for the Installation
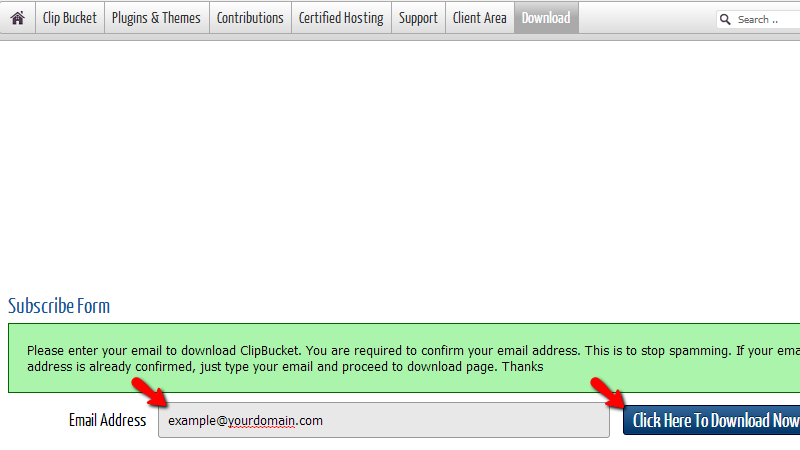
Before you can install the application you will need to prepare the installation files. You can download these files at the official download page of the Clip Bucket application.
There you will need to subscribe by filling your email address and by clicking on the “Click Here To Download Now” the Clip Bucket team will send you a confirmation email.
The content of the email you will receive will be similar to the following:

Please click on the provided link there and you will be redirected to the download page for the application where you will need to simply click on the Download button:

Once you download the archive with the installation files you will need to extract the archive on your local computer.

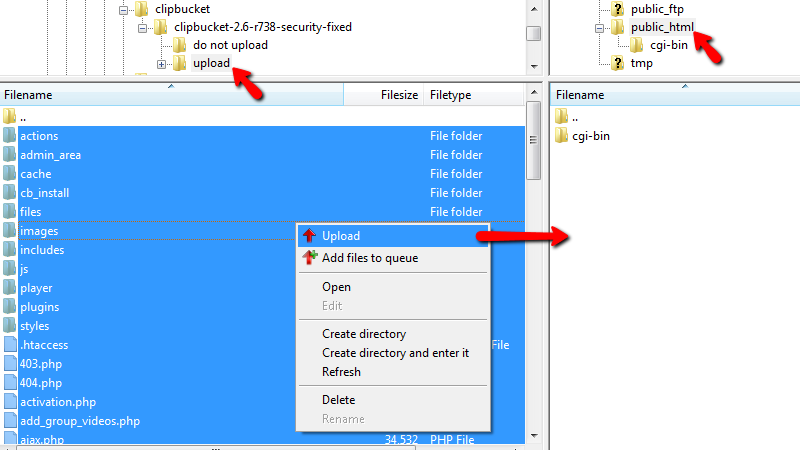
The folder you will receive contains 2 inner folders – do not upload and upload. Respectively you will need only the upload folder as there you will find the installation files.
In order to upload the installation files to your website you will need to connect to the FTP service for your package with us. If you are not sure that you are able to use the FTP service please check our FTP tutorial series.
Once you are connected to the FTP service for your package you will need to access the folder of your hosting space with us where the application should be installed in.
The last preparation you should handle is to create a database and user associated with the database. This can be easily achieved via your cPanel > MySQL Database Wizard.
Step 2 Initiate the Installation Script
Once you have uploaded the files for example in the public_html folder of your account you will need to initiate the installation script. This can be easily achieved if you simply access yourdomainame.com or yourdomainname.com/subfoldername if you are about to perform the installation of the application in a subfolder.
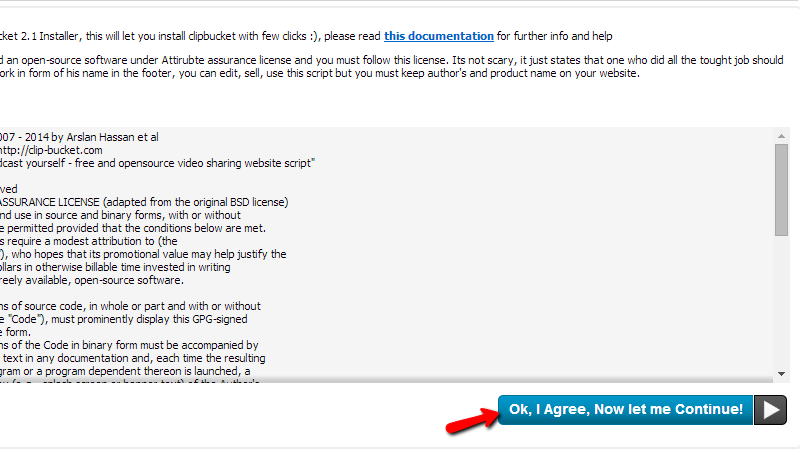
The first screen from the installation process is related to the license agreement. Please read it carefully and press the “Ok, I Agree, Now let me Continue!” button of course if you are agree with the license agreement.
On the next screen the installation script will check the main requirements of the script. Now, even if some of them are marked in red you should simply press the Continue To Next Step button and after the installation you will be able to configure the correct paths to the services.
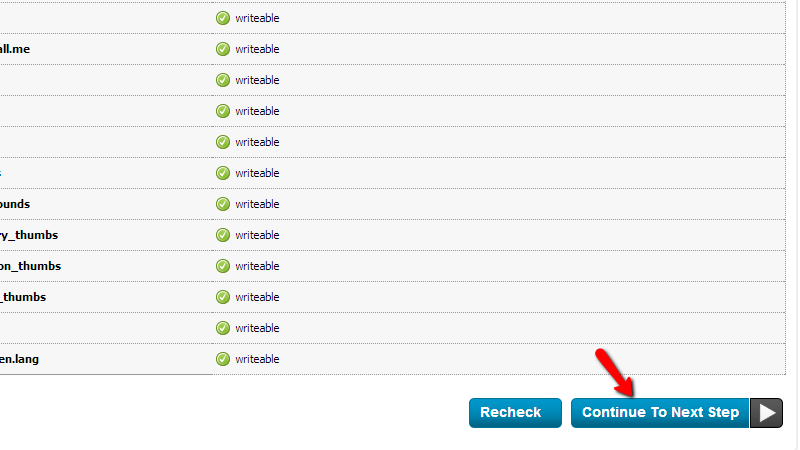
The next screen will present you from the result of the file/folders permissions check. If you have followed the upload instructions in Step 1 of this tutorial all of the permissions should be properly configured and all of them should be marked in green. Please click on Continue To Next Step button so you can be able to proceed with the installation.
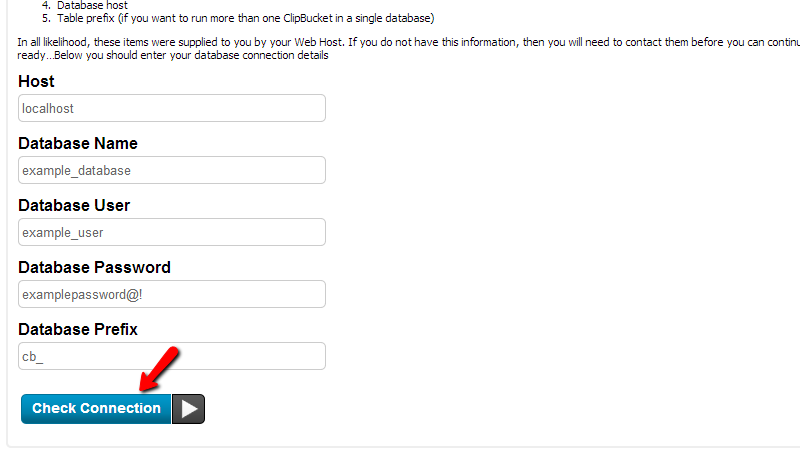
On the next page you will need to configure the database your application will be using. Note that you should have already created the database and the username to operate with it in the end of Step 1.
The values you will need to fill on this page are:
- Host - it should be automatically filled with the “localhost” string and you should leave it that way.
- Database Name – the name of your database. Note that the database name contain also the username of your account with is as prefix – example_database, where example is the username of your account and database is the database name you have set when you were creating the database.
- Database User – The username of user assigned to the created database – example_username, where example is the username of your account with us and username is the actual username you have set when you were creating the user.
- Database Password – The password for the database user you have created.
- Database Prefix – Usually this field should be predefined as “cb_” and you should probably leave it that way or change it if you would like the tables in the database of your website to be with that prefix.
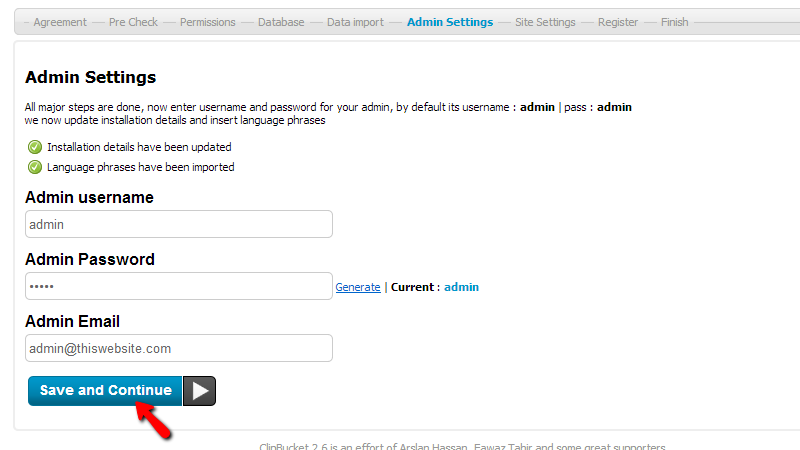
On the next page you will notice that the installation script will deploy the tables in the database and also modify the required files. Once the process is finished you will be presented with the Admin Settings page where you will need to configure the Admin username, Admin Password and of course the Admin Email. Once you are ready please click on the Save and Continue button so you can proceed.
On the next page you will need to configure the Website basic configuration. There you will find the following fields:
- Website Title – The title of your website
- Website Slogan – The slogan of your website
- Website URL – The URL to the location where you can access the Clip Bucket application.
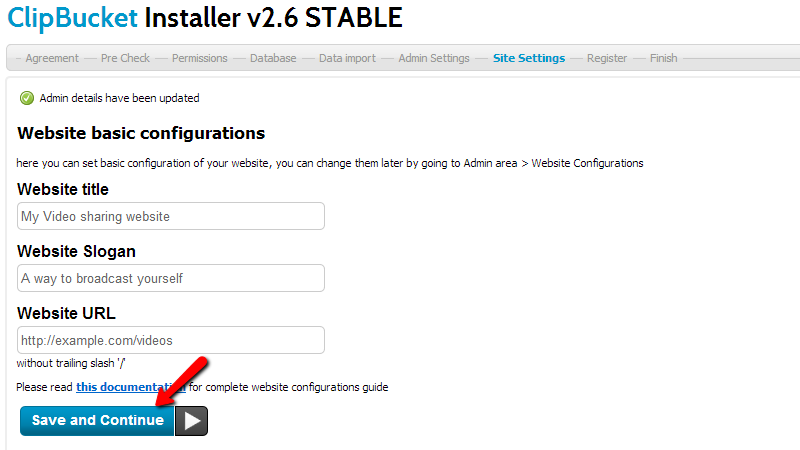
Once you are ready please click on the Save and Continue button so you can proceed with the setup.
On the next page you will be presented with the option to register your installation and you should do so by clicking the Register and Finish button.
Next you will be redirected to the final page of the installation process where you will be instructed to delete the cb_install folder.
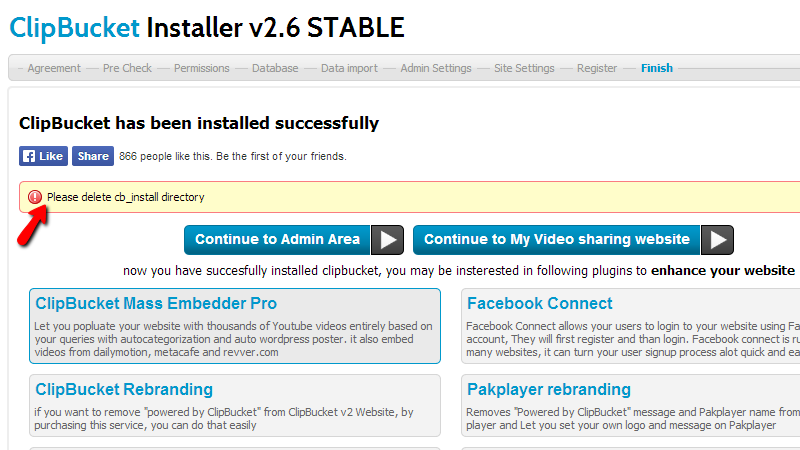
The directory can be deleted either via the FTP service you have uploaded the files with or you can also delete it via the File Manager feature of the cPanel service.
Congratulations! You have successfully installed the Clip Bucket application manually on your hosting account with us!

ClipBucket Hosting
- Free Installation
- 24/7 ClipBucket Support
- Free Domain Transfer
- Hack-free Protection
- Fast SSD Storage
- Free ClipBucket Transfer
- Free Cloudflare CDN
- FFmpeg Support
